Stop leaks before they start.
At St Louis Drone Services, we build data-driven systems that give facility leaders real visibility into the health of their buildings. Using thermal imaging, radiometric data, and high-resolution aerial mapping, we create timestamped, defensible records of roof and asset conditions for schools, healthcare facilities, manufacturers, and commercial portfolios across the St. Louis region.
This post walks through what roof moisture inspection actually is, why it matters, how the technology works, and what a professional inspection process looks like from the ground up — literally.
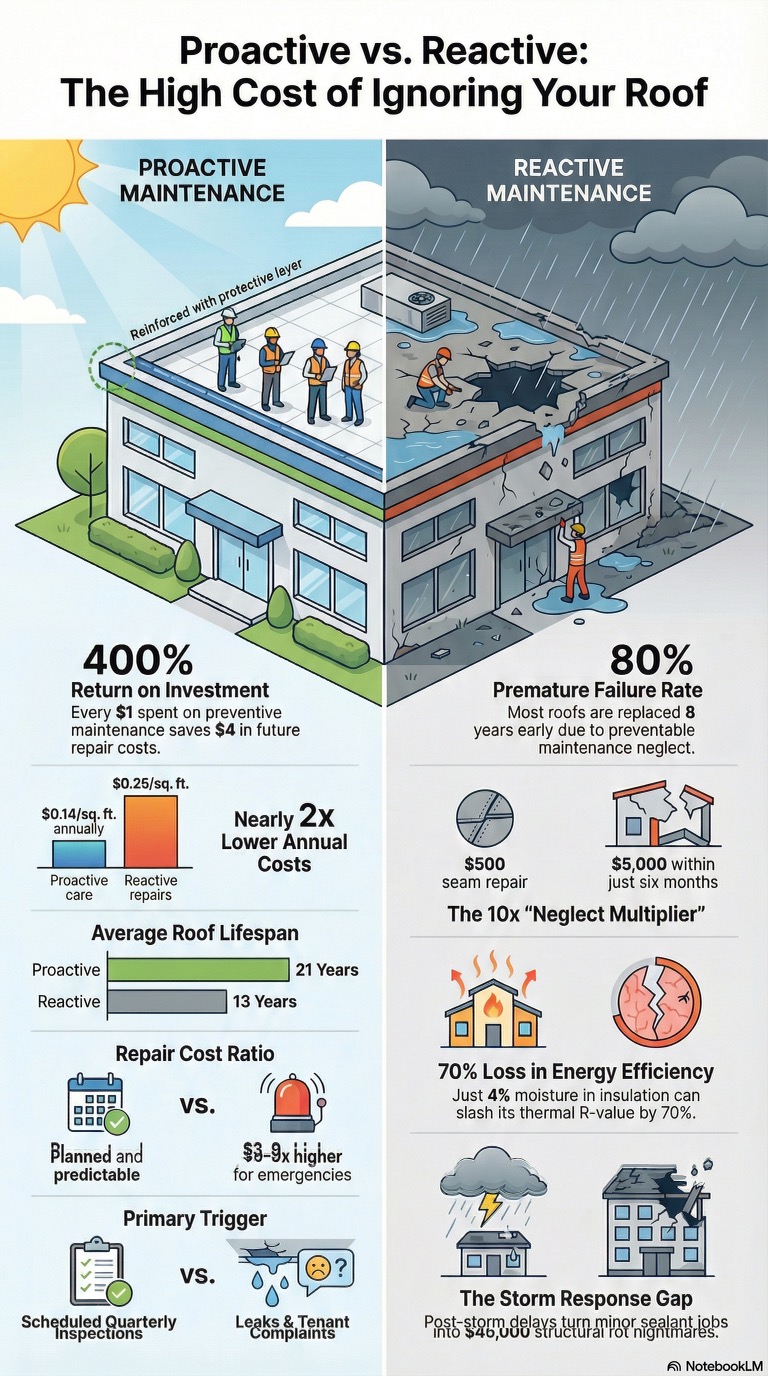
The Problem: Roofs Fail Quietly, Long Before You See a Stain
By the time a ceiling tile browns, insulation sags, or a leak appears in a hallway, the water has usually been traveling through the roof assembly for months — sometimes years. Membrane roofing systems (TPO, EPDM, modified bitumen, built-up roofing) are designed to shed water, but once a seam, flashing detail, penetration, or fastener fails, moisture migrates laterally beneath the surface. It saturates insulation board, degrades the roof deck, and accelerates corrosion — all while the top surface looks completely normal to the naked eye.
This is a challenge we see constantly with facility leaders here in Missouri: you cannot manage what you cannot see. Traditional roof inspections rely on visual walkovers, moisture meters at spot checks, or destructive core cuts. All three have real limitations — they’re slow, subjective, and only sample a fraction of the roof’s total area. A 100,000 square foot roof might get a dozen core samples. That leaves the other 99% a guessing game.
Add in the swings of a St. Louis climate — humid summers, freeze-thaw winters, and severe spring storm seasons — and roofs across the metro take a beating that makes hidden moisture even more likely to go unnoticed until it’s a five- or six-figure problem.
Infrared thermography closes that gap.
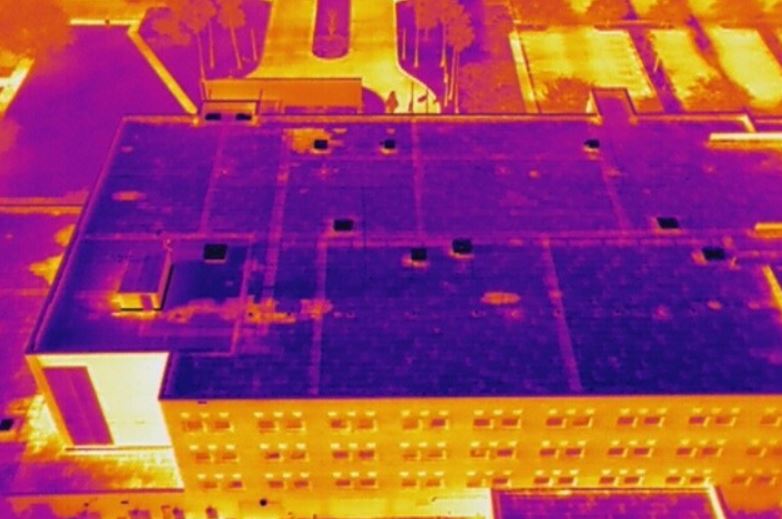
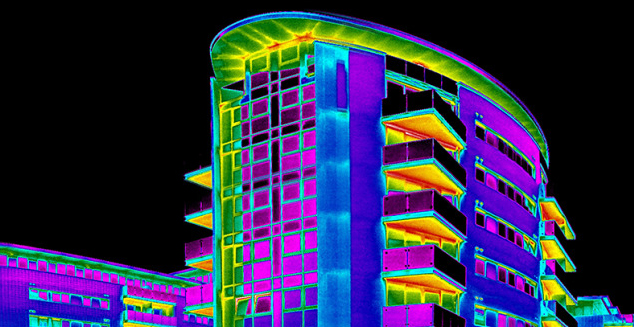
How Thermal Infrared Roof Moisture Detection Works
The science is straightforward, even though the equipment is sophisticated.
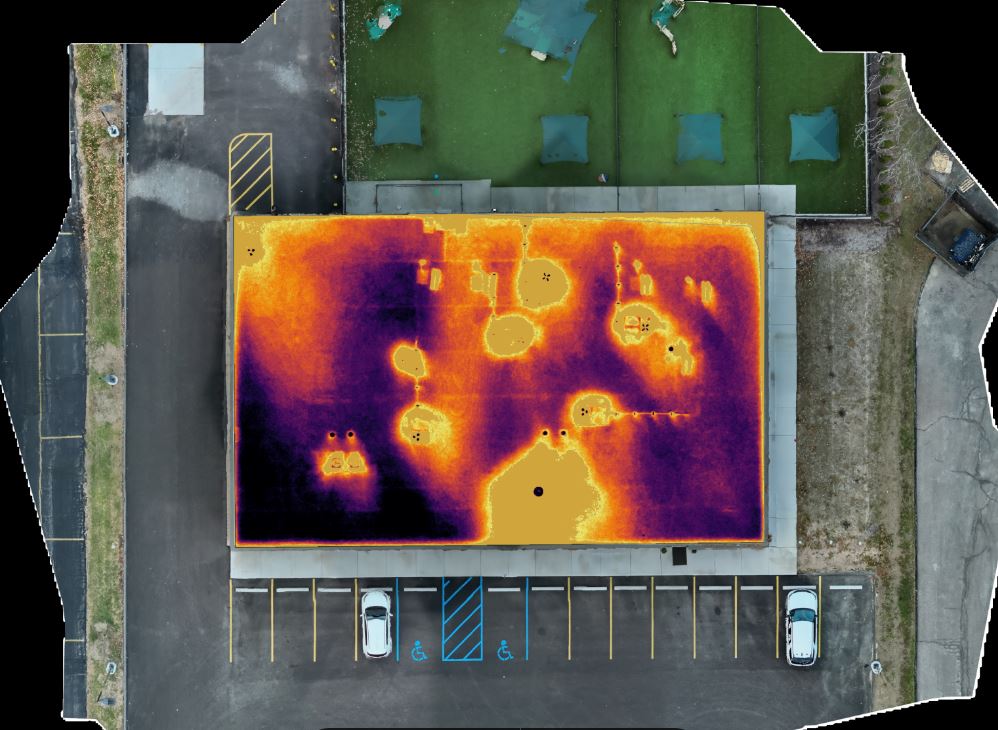
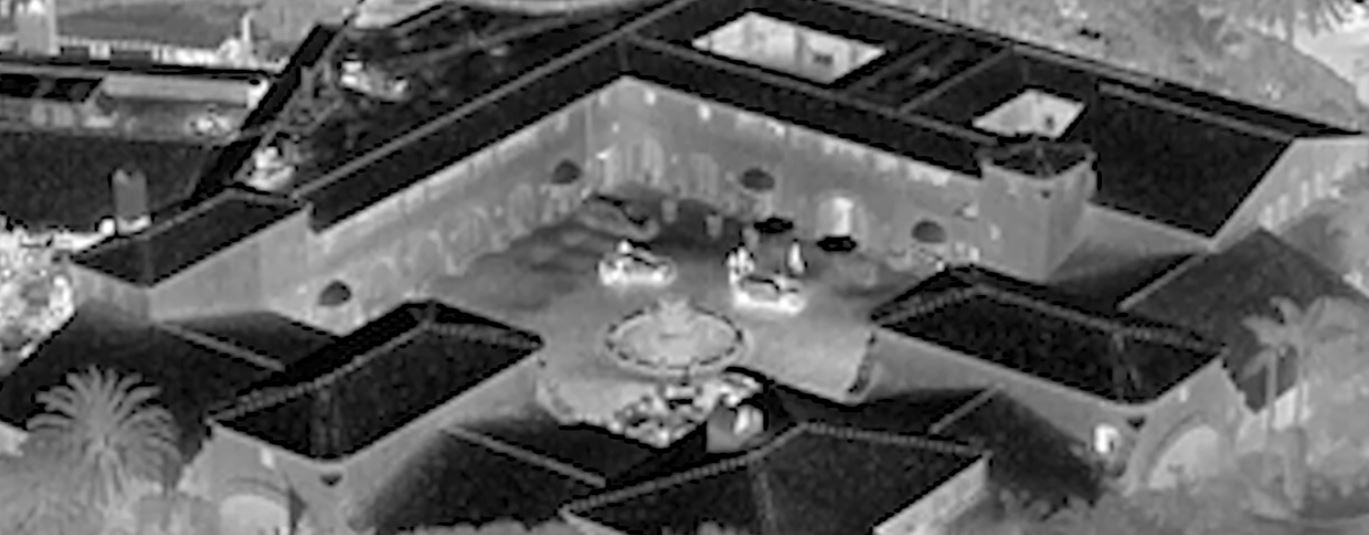
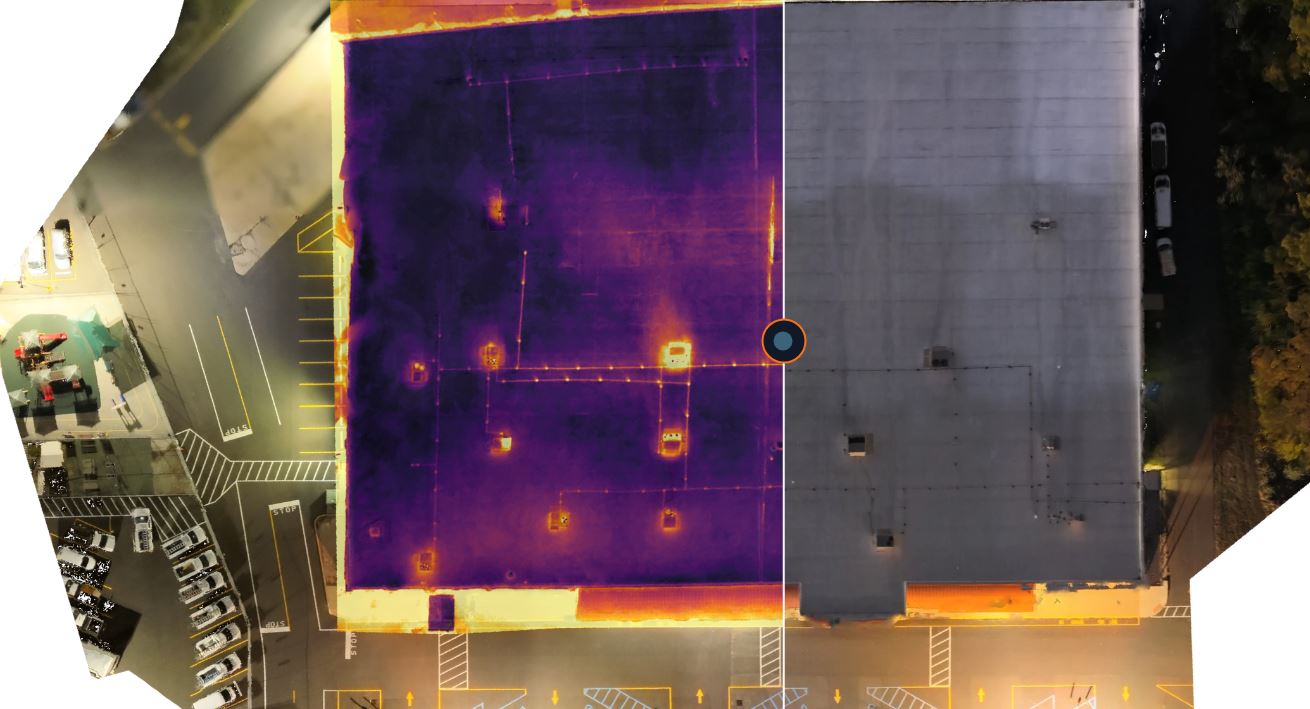
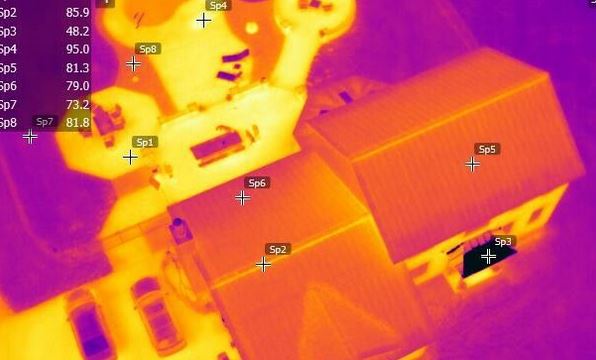
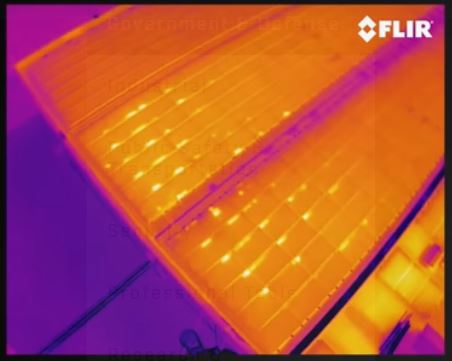
Materials absorb, retain, and release heat at different rates. Dry insulation and dry roofing materials heat up during the day and cool down relatively quickly after sunset. Wet insulation, however, has a much higher thermal mass — it absorbs and holds heat longer. When we fly a FLIR (Forward Looking Infrared) thermal sensor over a roof in the hours after sunset, wet areas beneath the membrane still show measurably warmer than the surrounding dry material, because they’re releasing stored heat at a slower rate. Those temperature differentials appear on the radiometric image as clearly defined “hot spots” that correspond almost exactly to subsurface moisture intrusion.
A few conditions matter for accuracy, and this is where an experienced flight crew makes the difference between a useful report and a misleading one:
- Solar loading during the day to charge the roof with heat
- A sufficient temperature differential between day and night (generally a minimum swing of 18–20°F)
- Clear skies with minimal wind during the flight window, since cloud cover and wind flatten the thermal signature
- Dry roof surface at the time of the flight — rain or heavy dew within 24 hours can produce false readings
- Correct emissivity settings and radiometric calibration for the specific membrane and insulation type
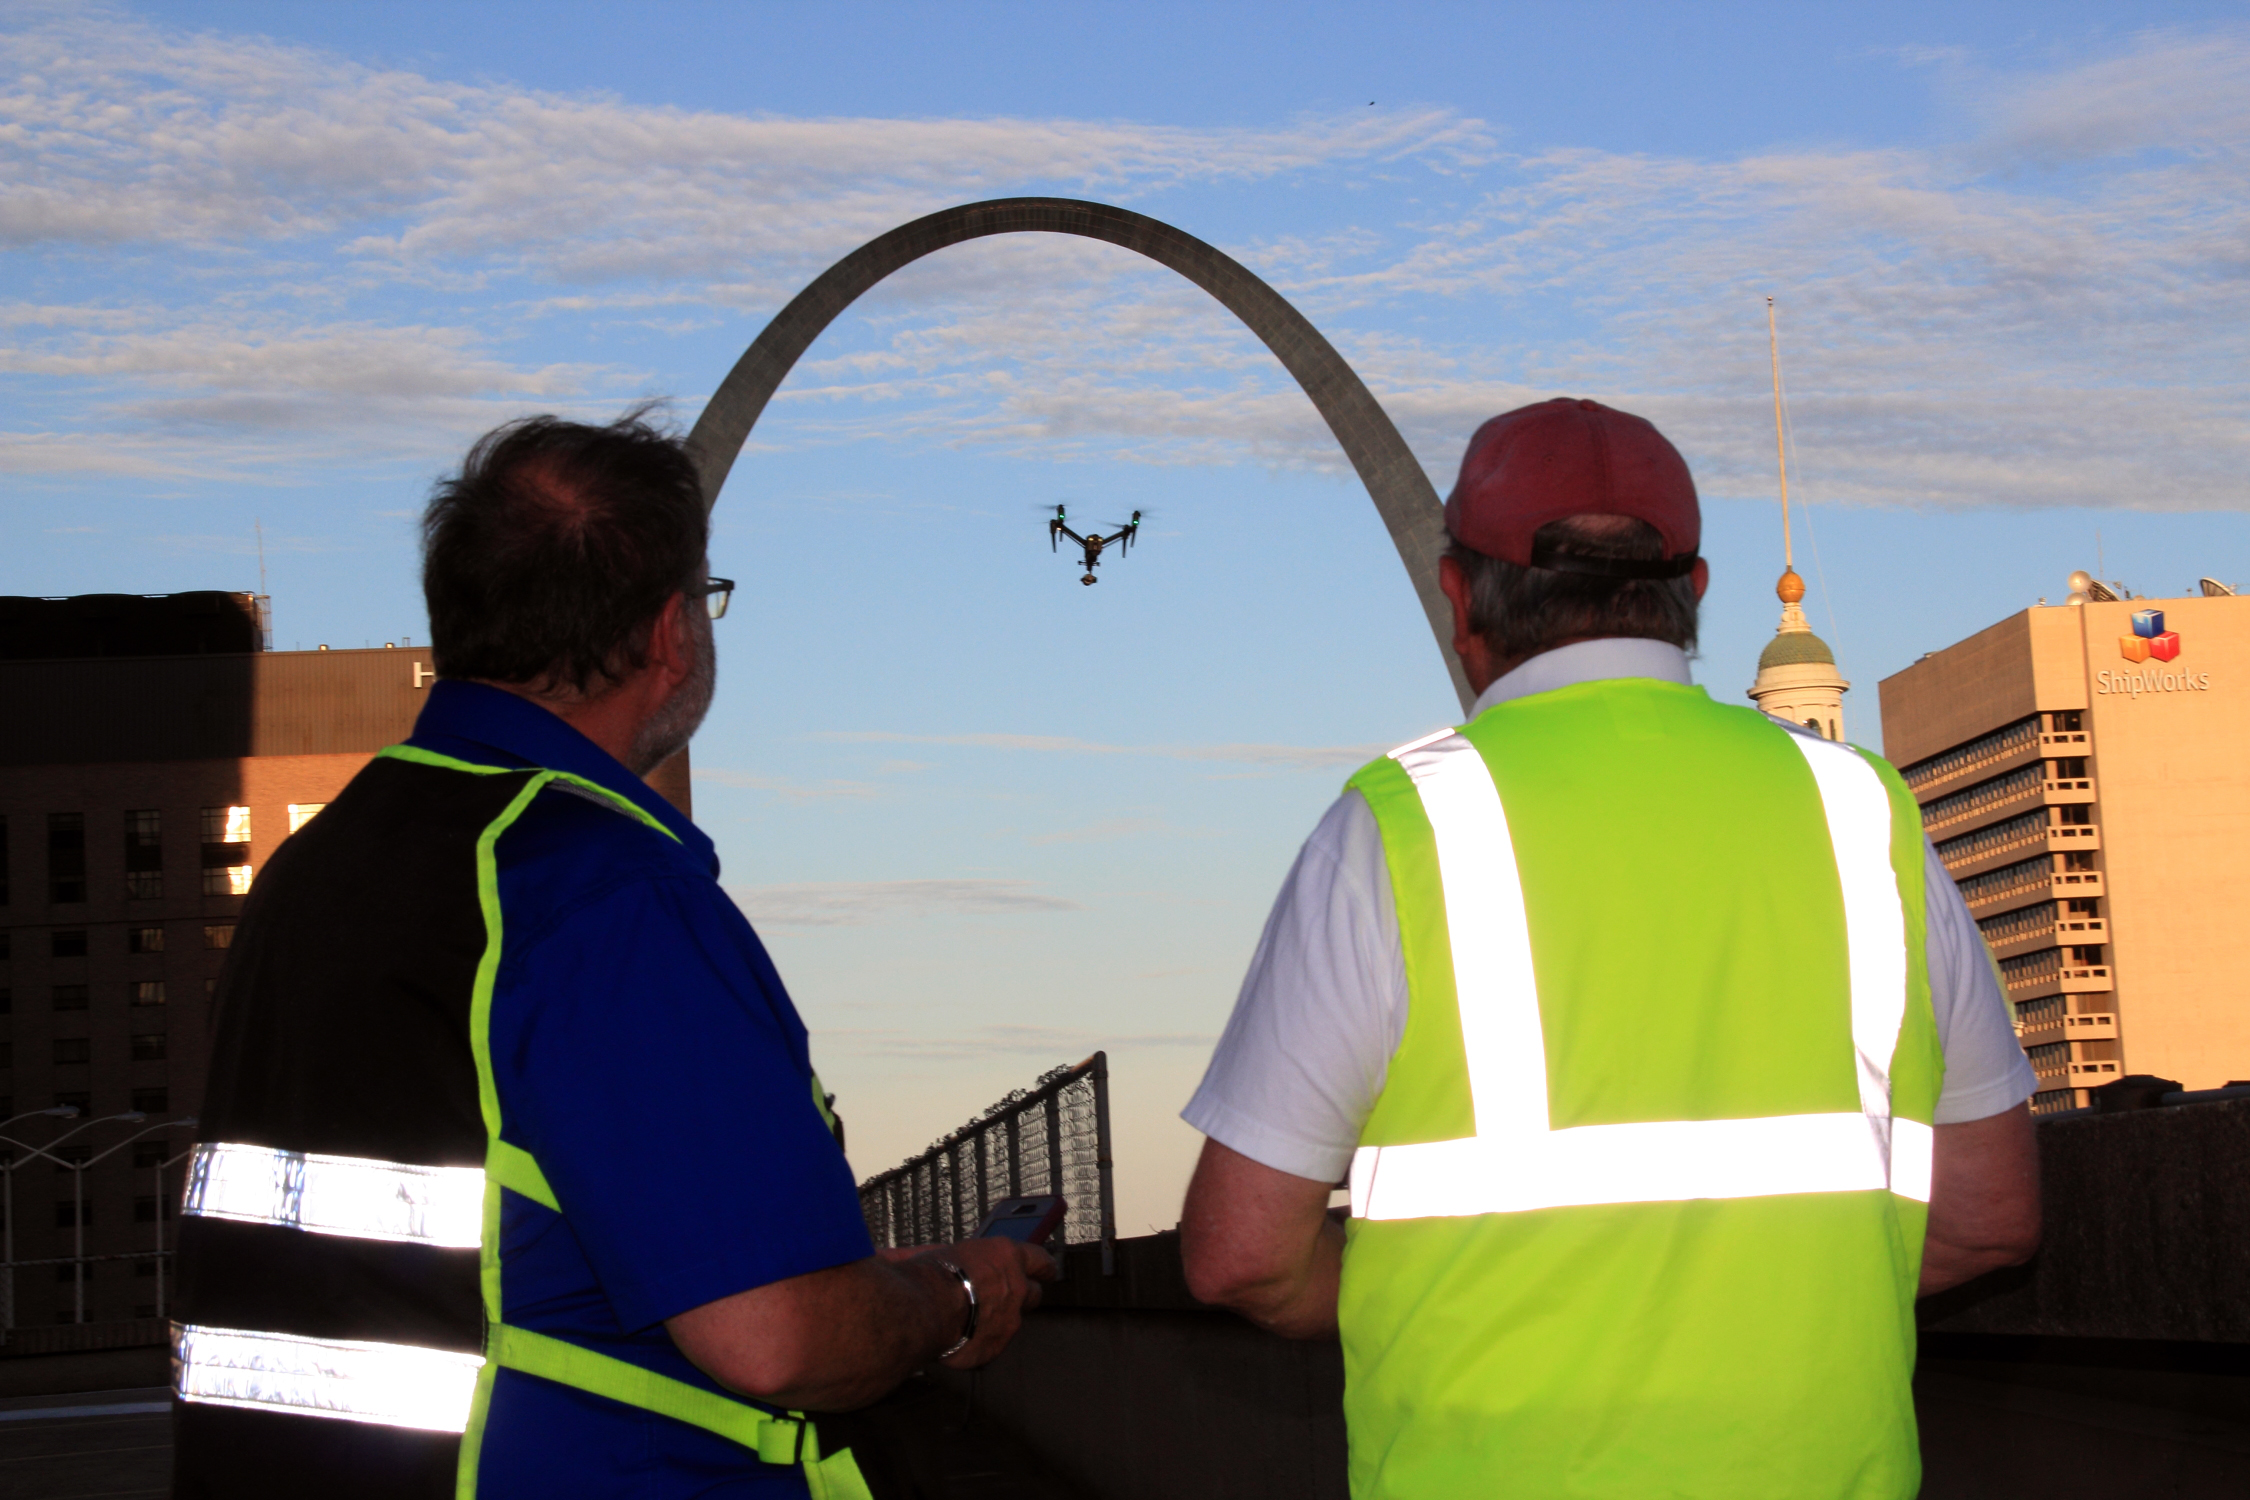
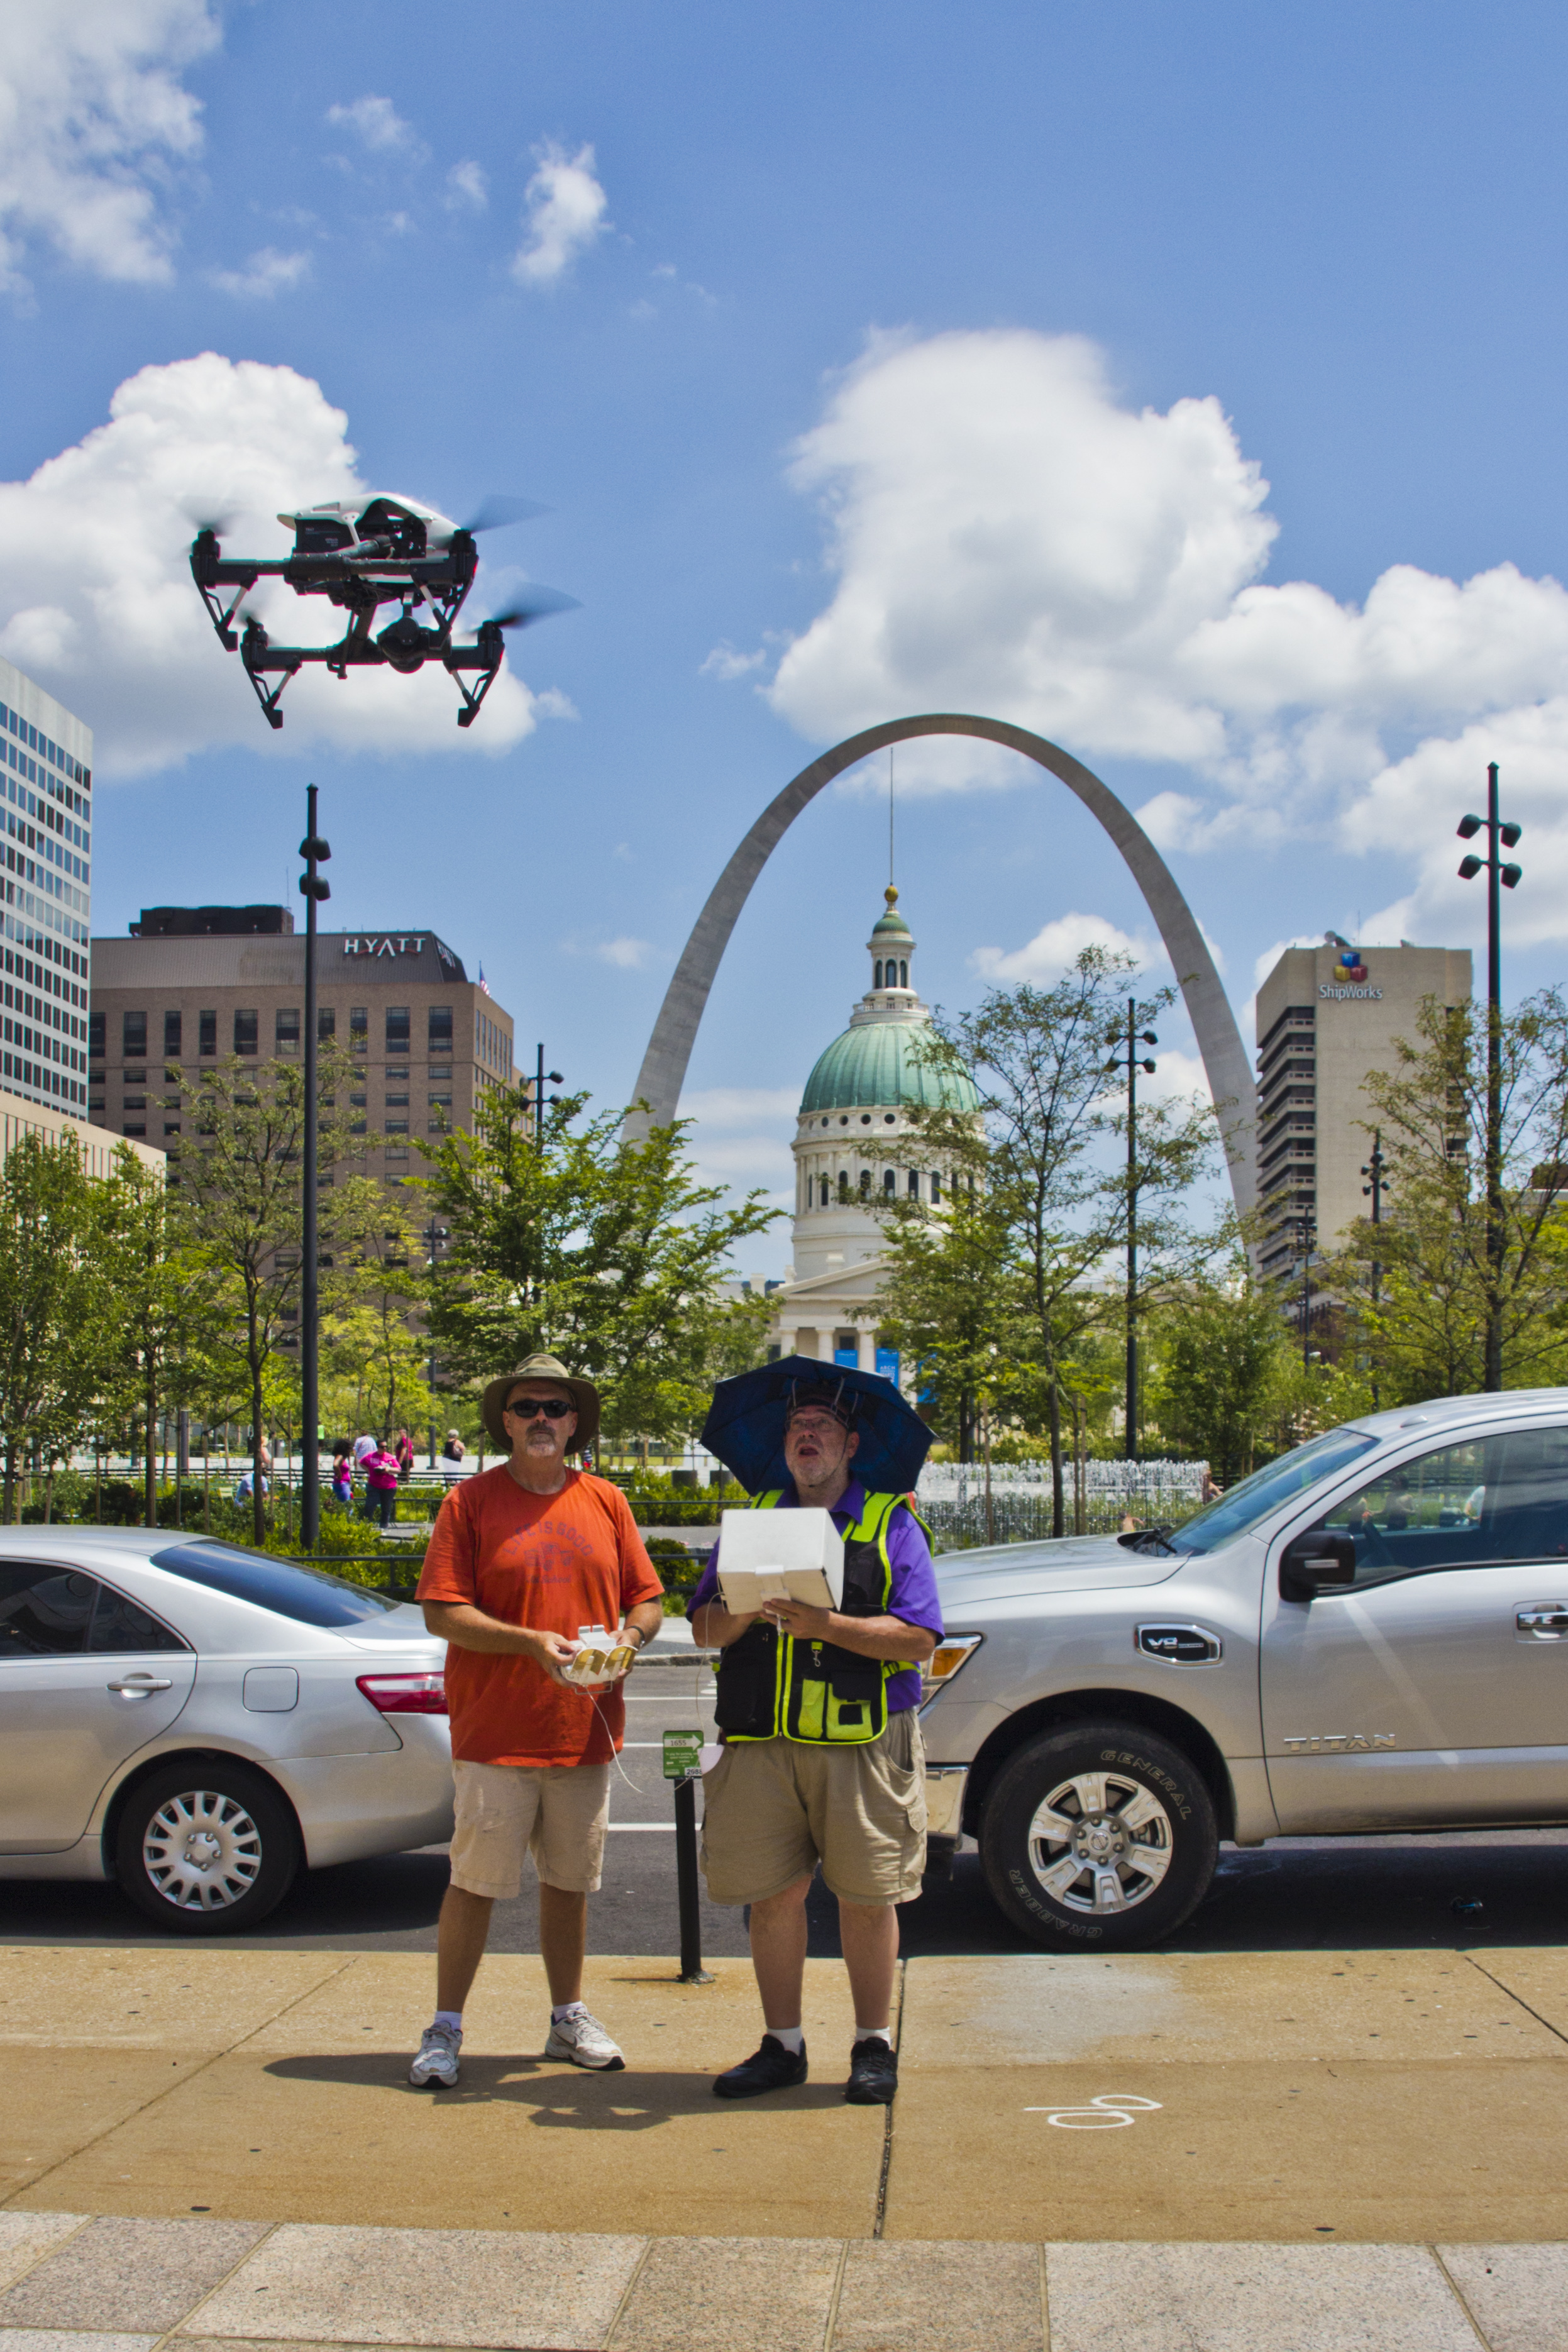
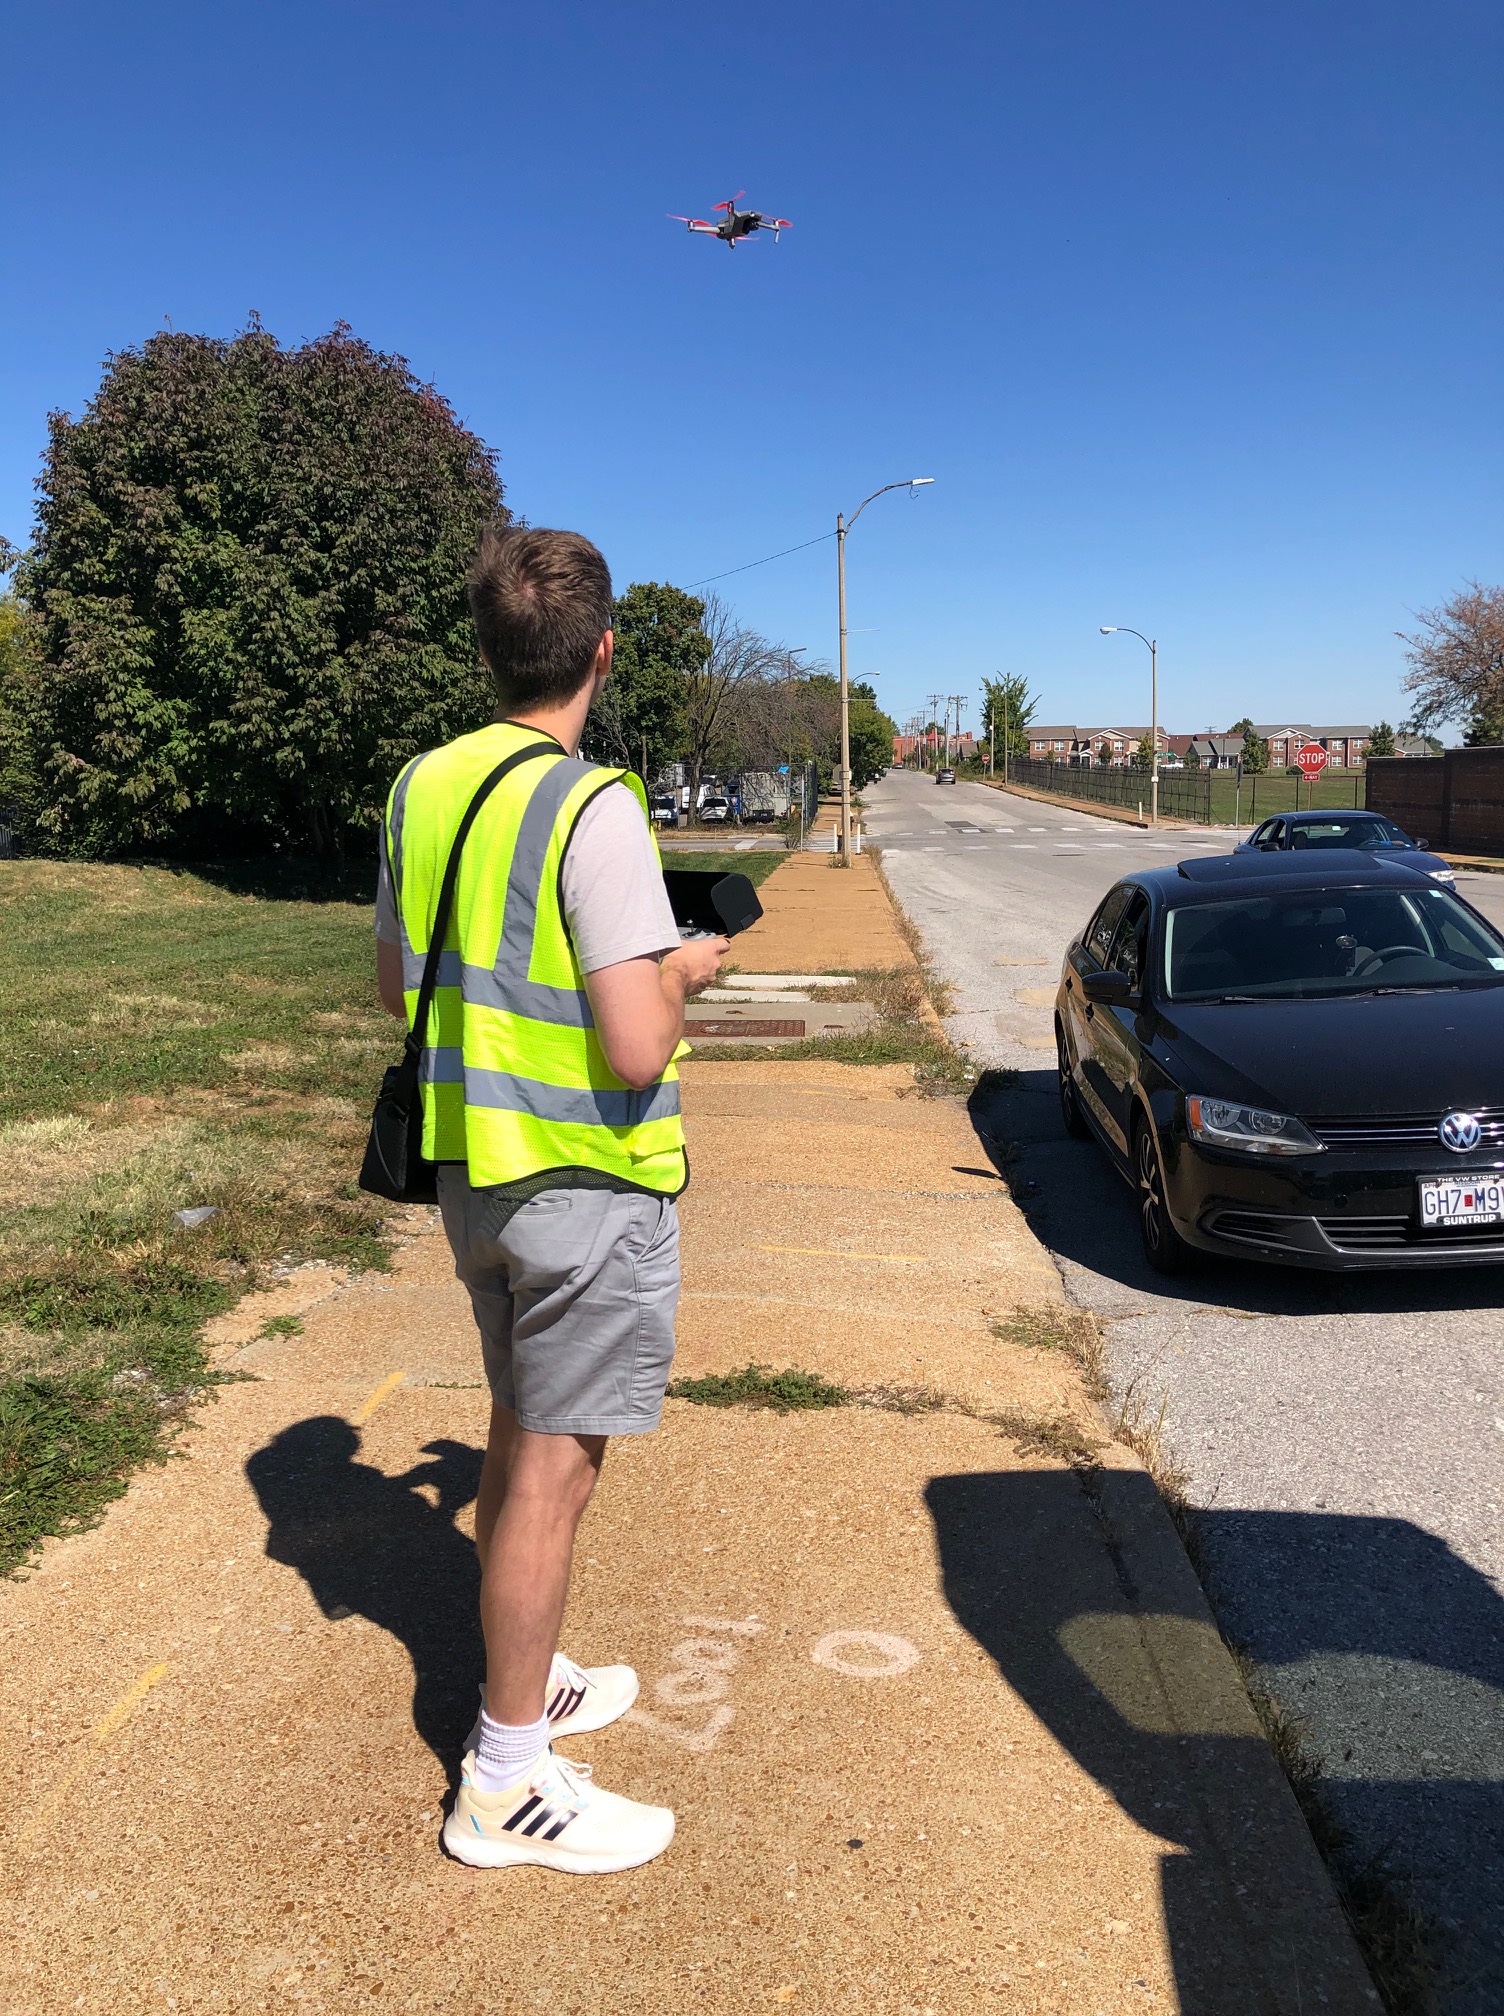
This is why thermal roof scans are typically flown in the early evening, in specific weather windows, by pilots who understand roofing systems — not just drone operation. Anyone can fly a drone with a thermal camera attached. Producing a defensible, accurate moisture map requires understanding building science, and knowing how to work around St. Louis’s often unpredictable weather patterns to catch the right conditions.

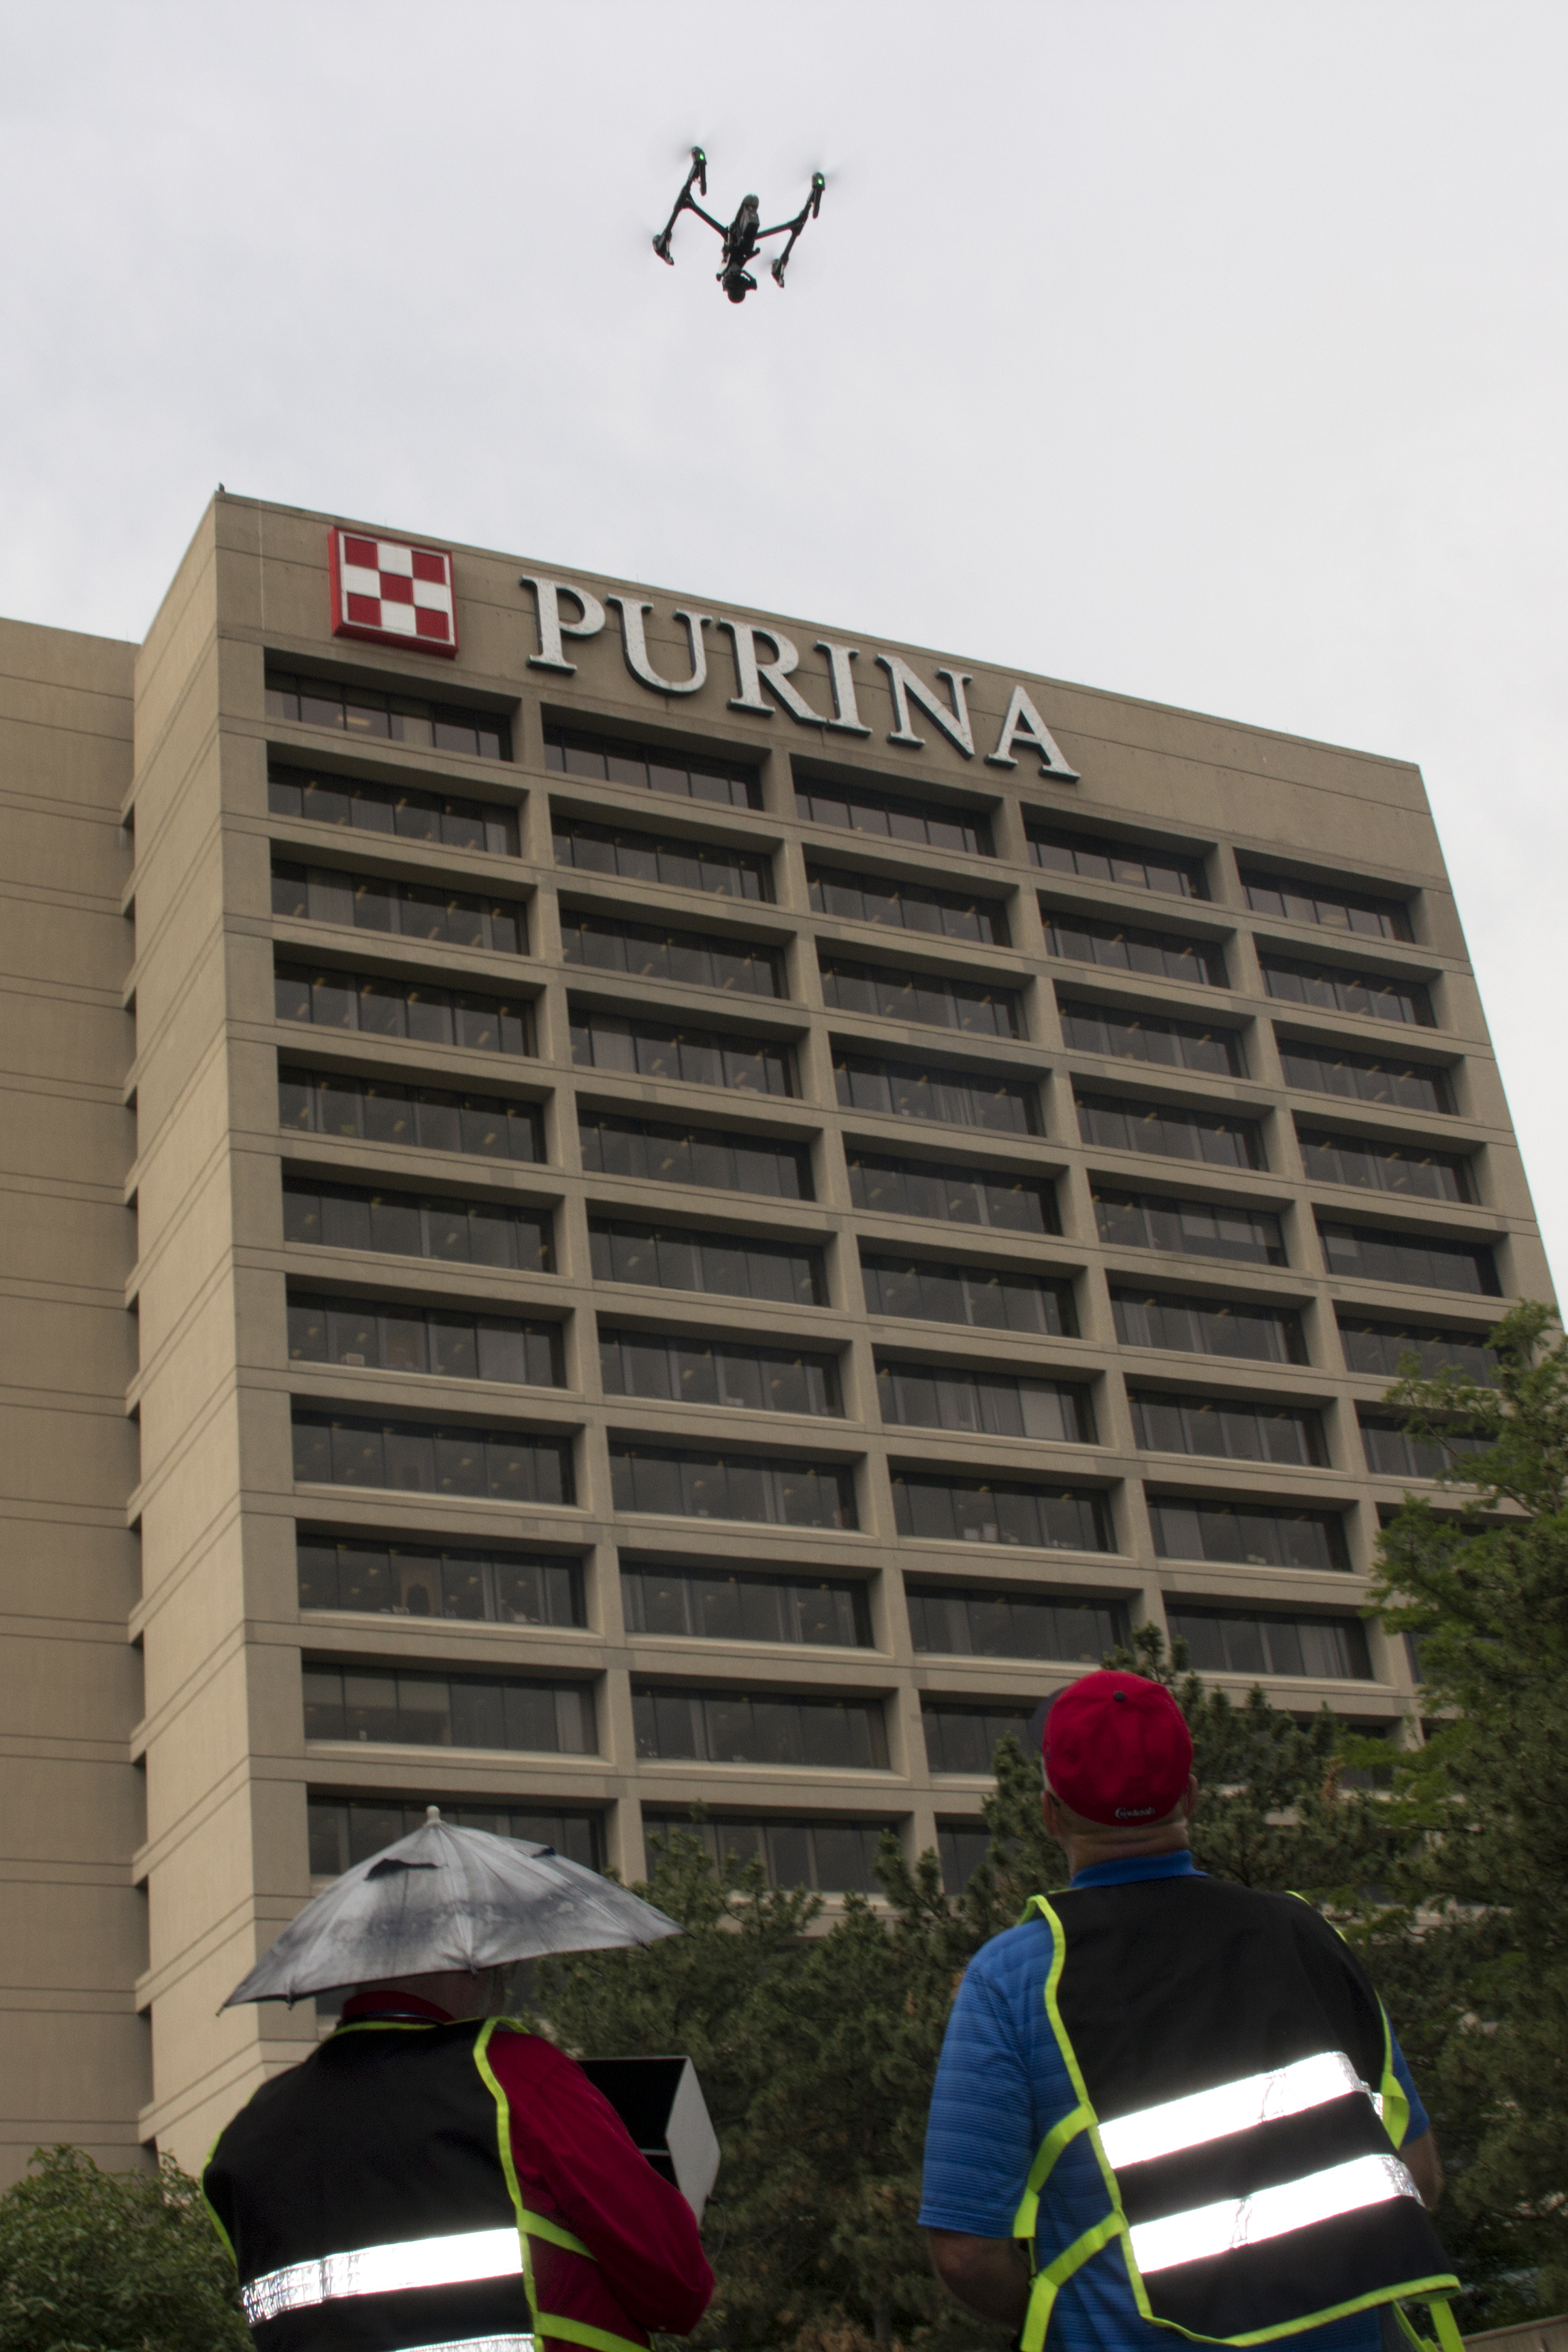
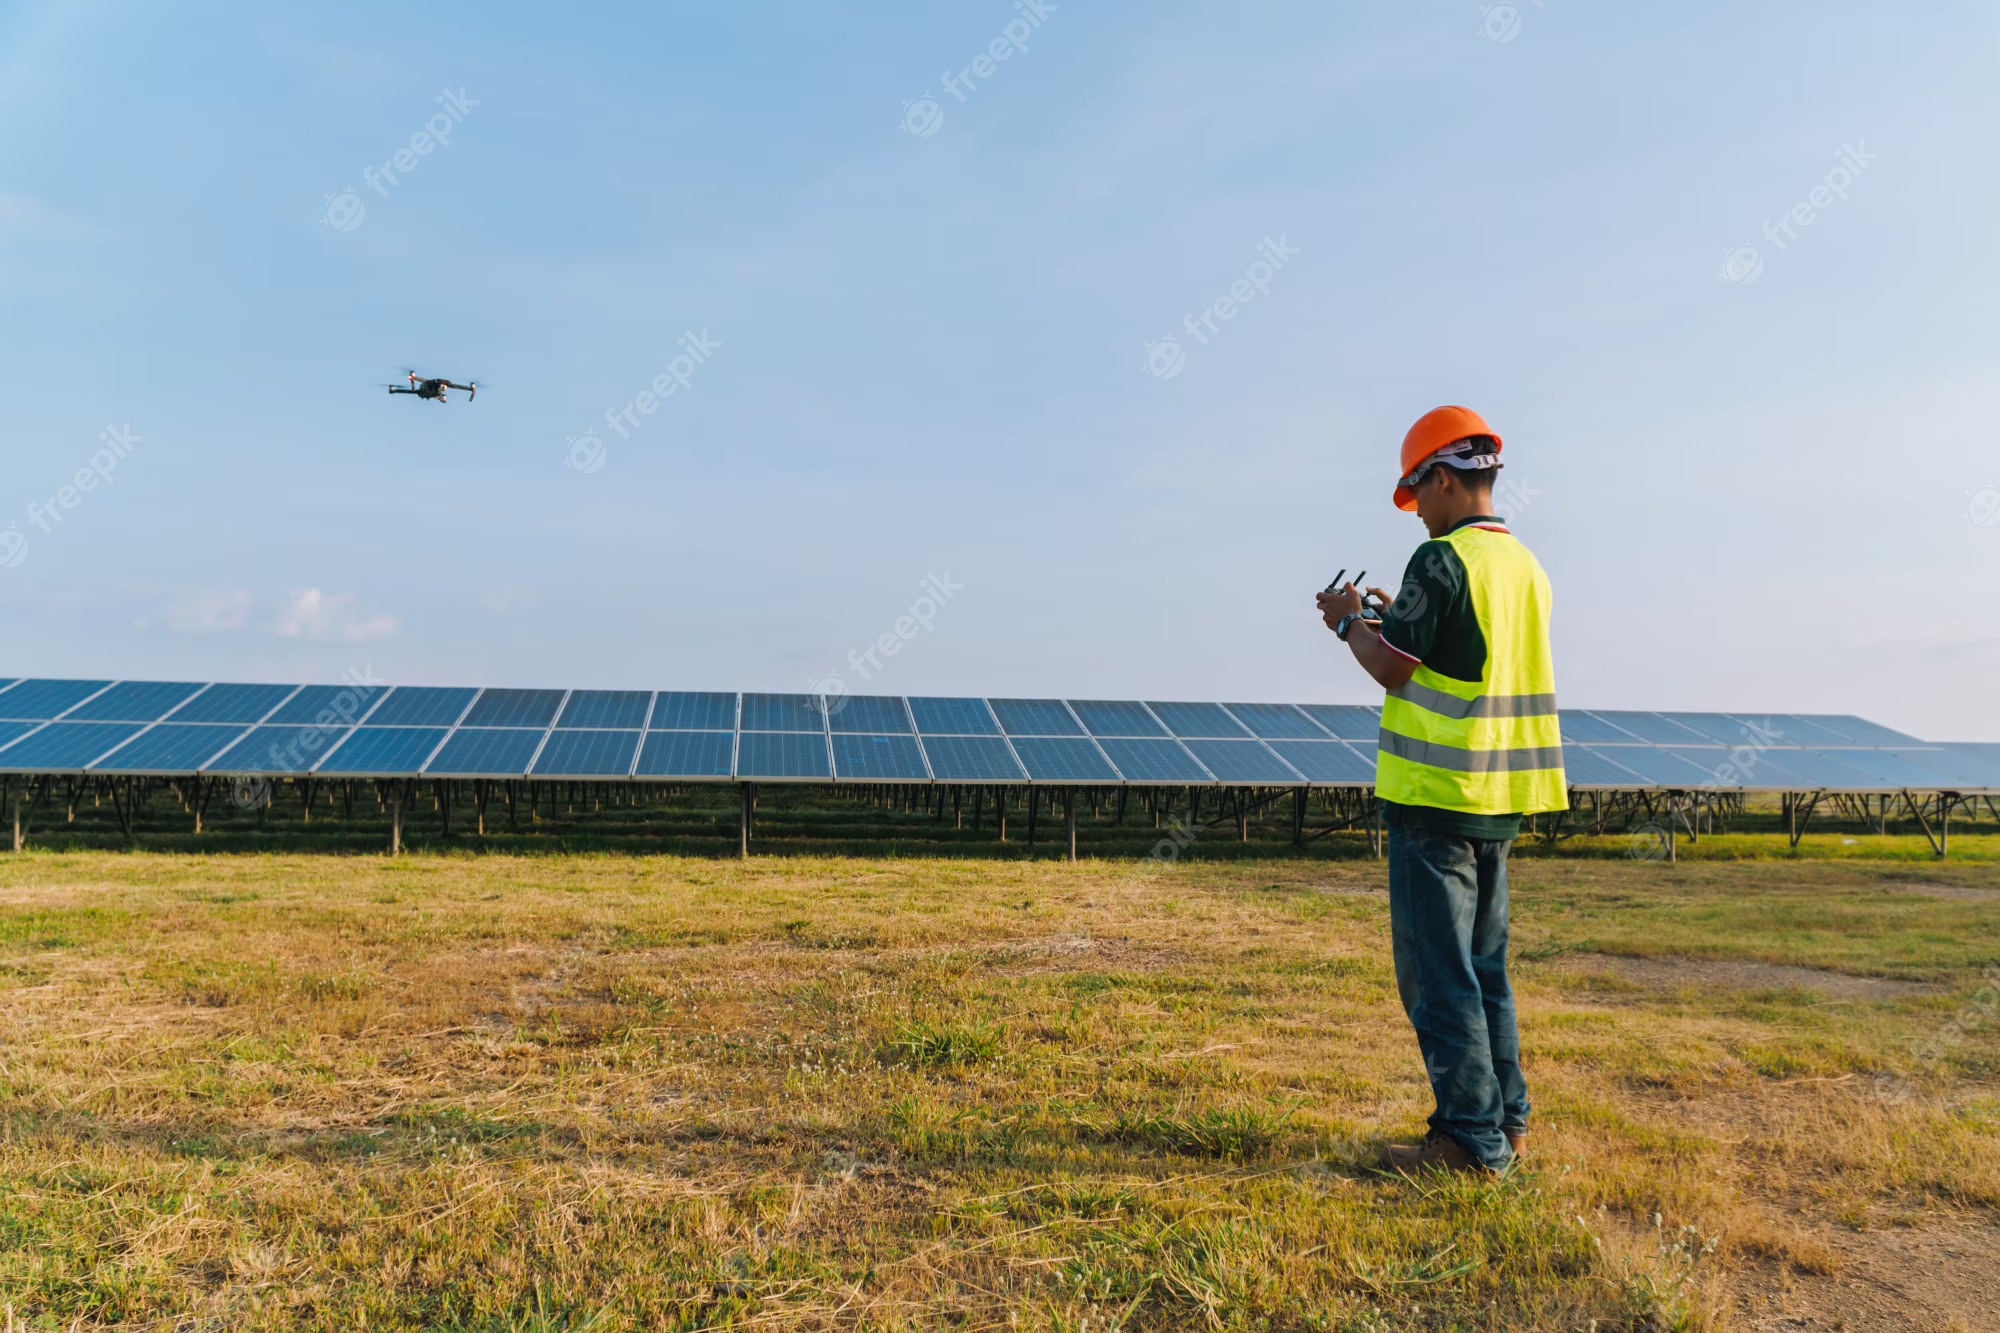
Why Drones Instead of Handheld or Walked Infrared?
Handheld thermal imaging and walked infrared surveys have been used in the roofing industry for decades, and they still have a place. But drone-based thermal capture solves several practical problems at once:
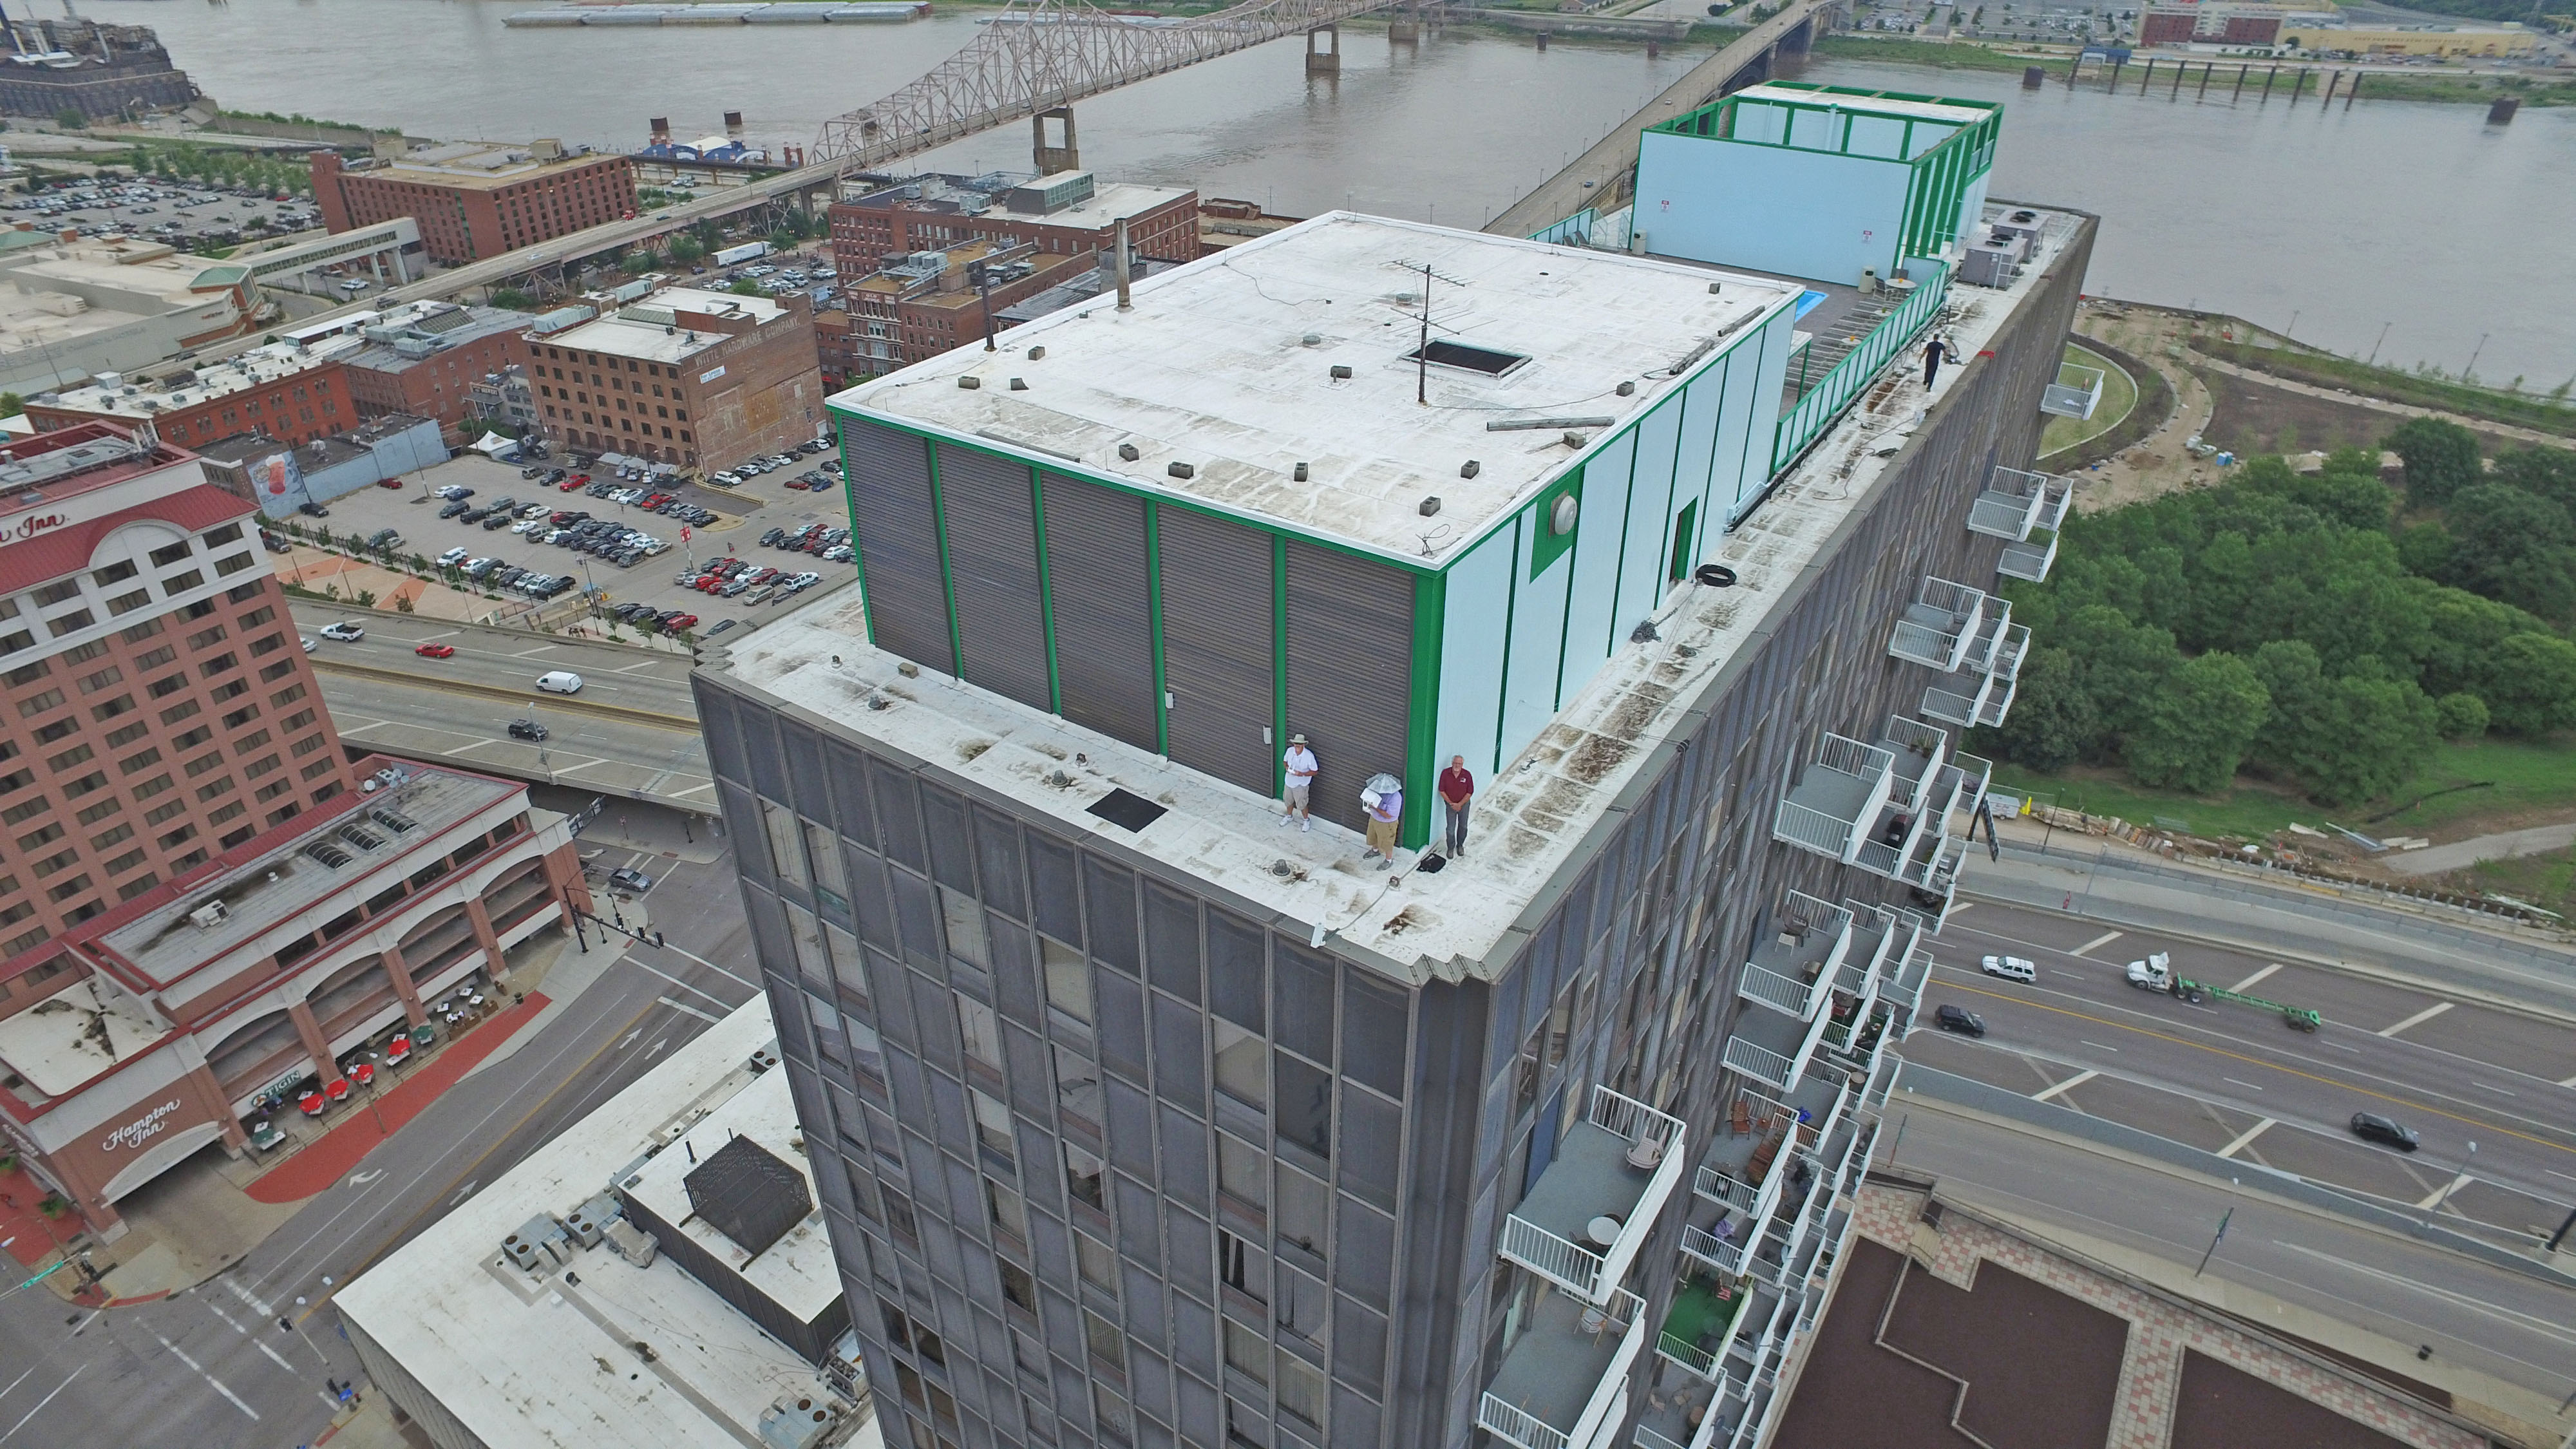
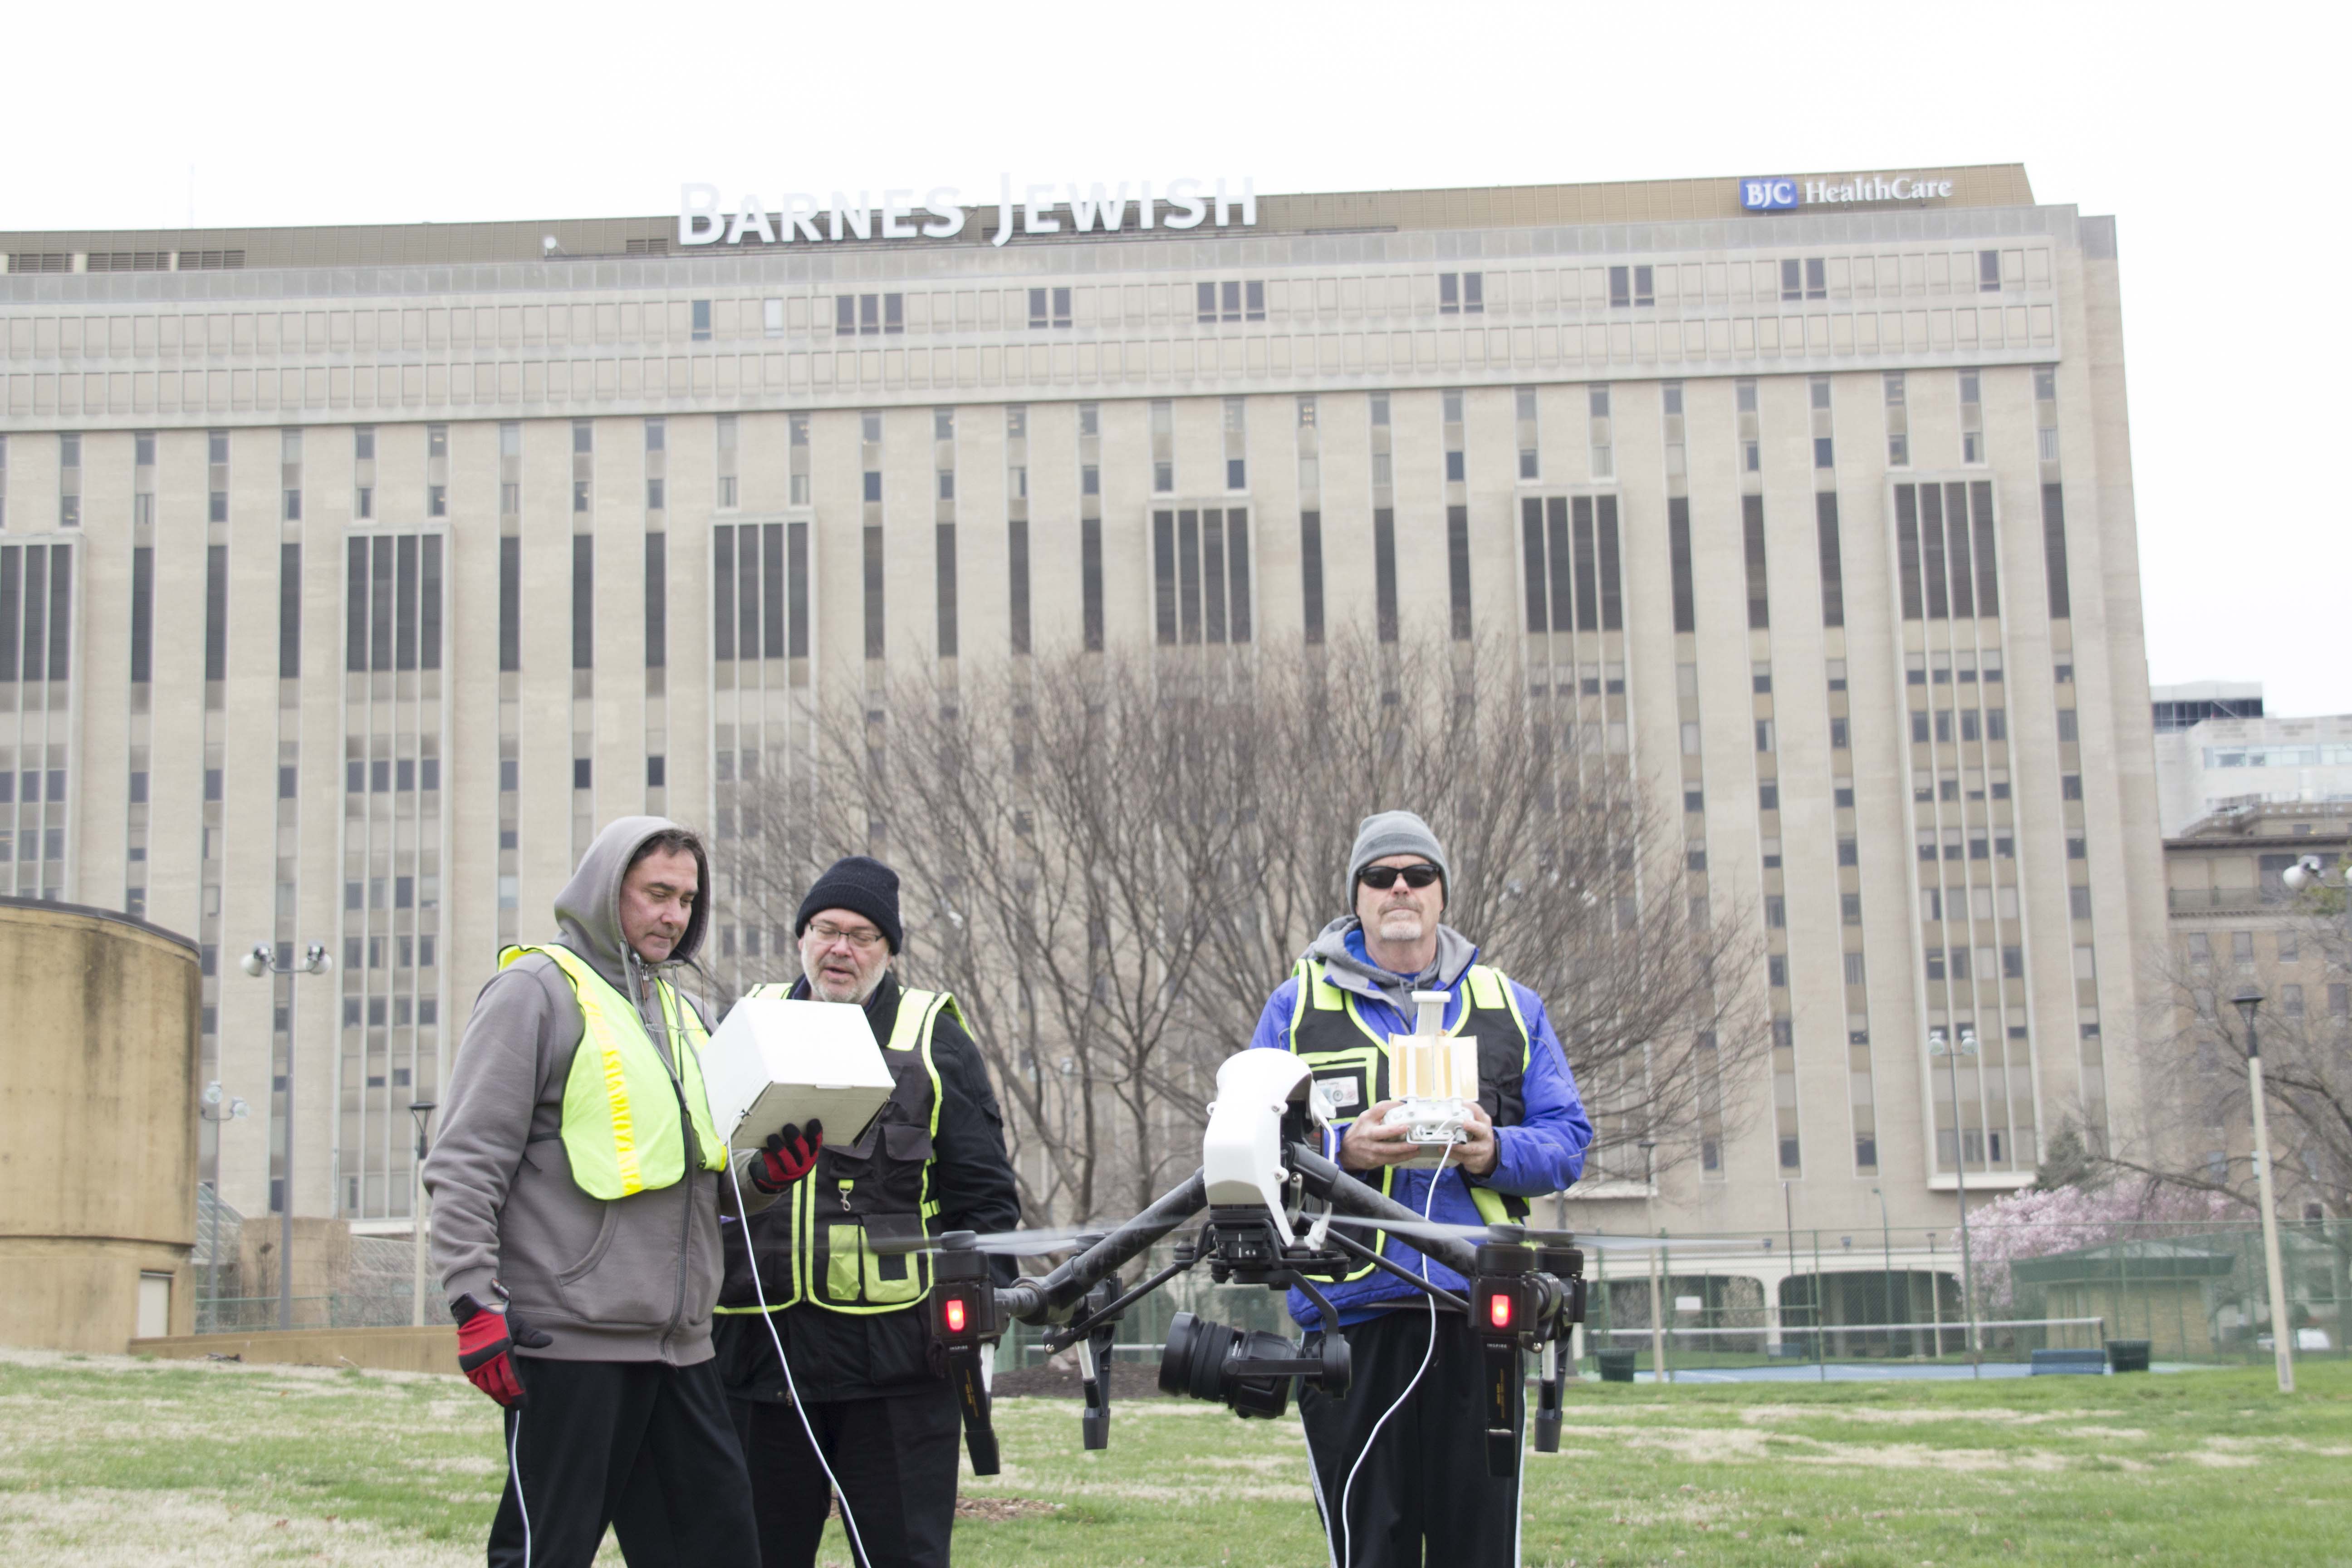
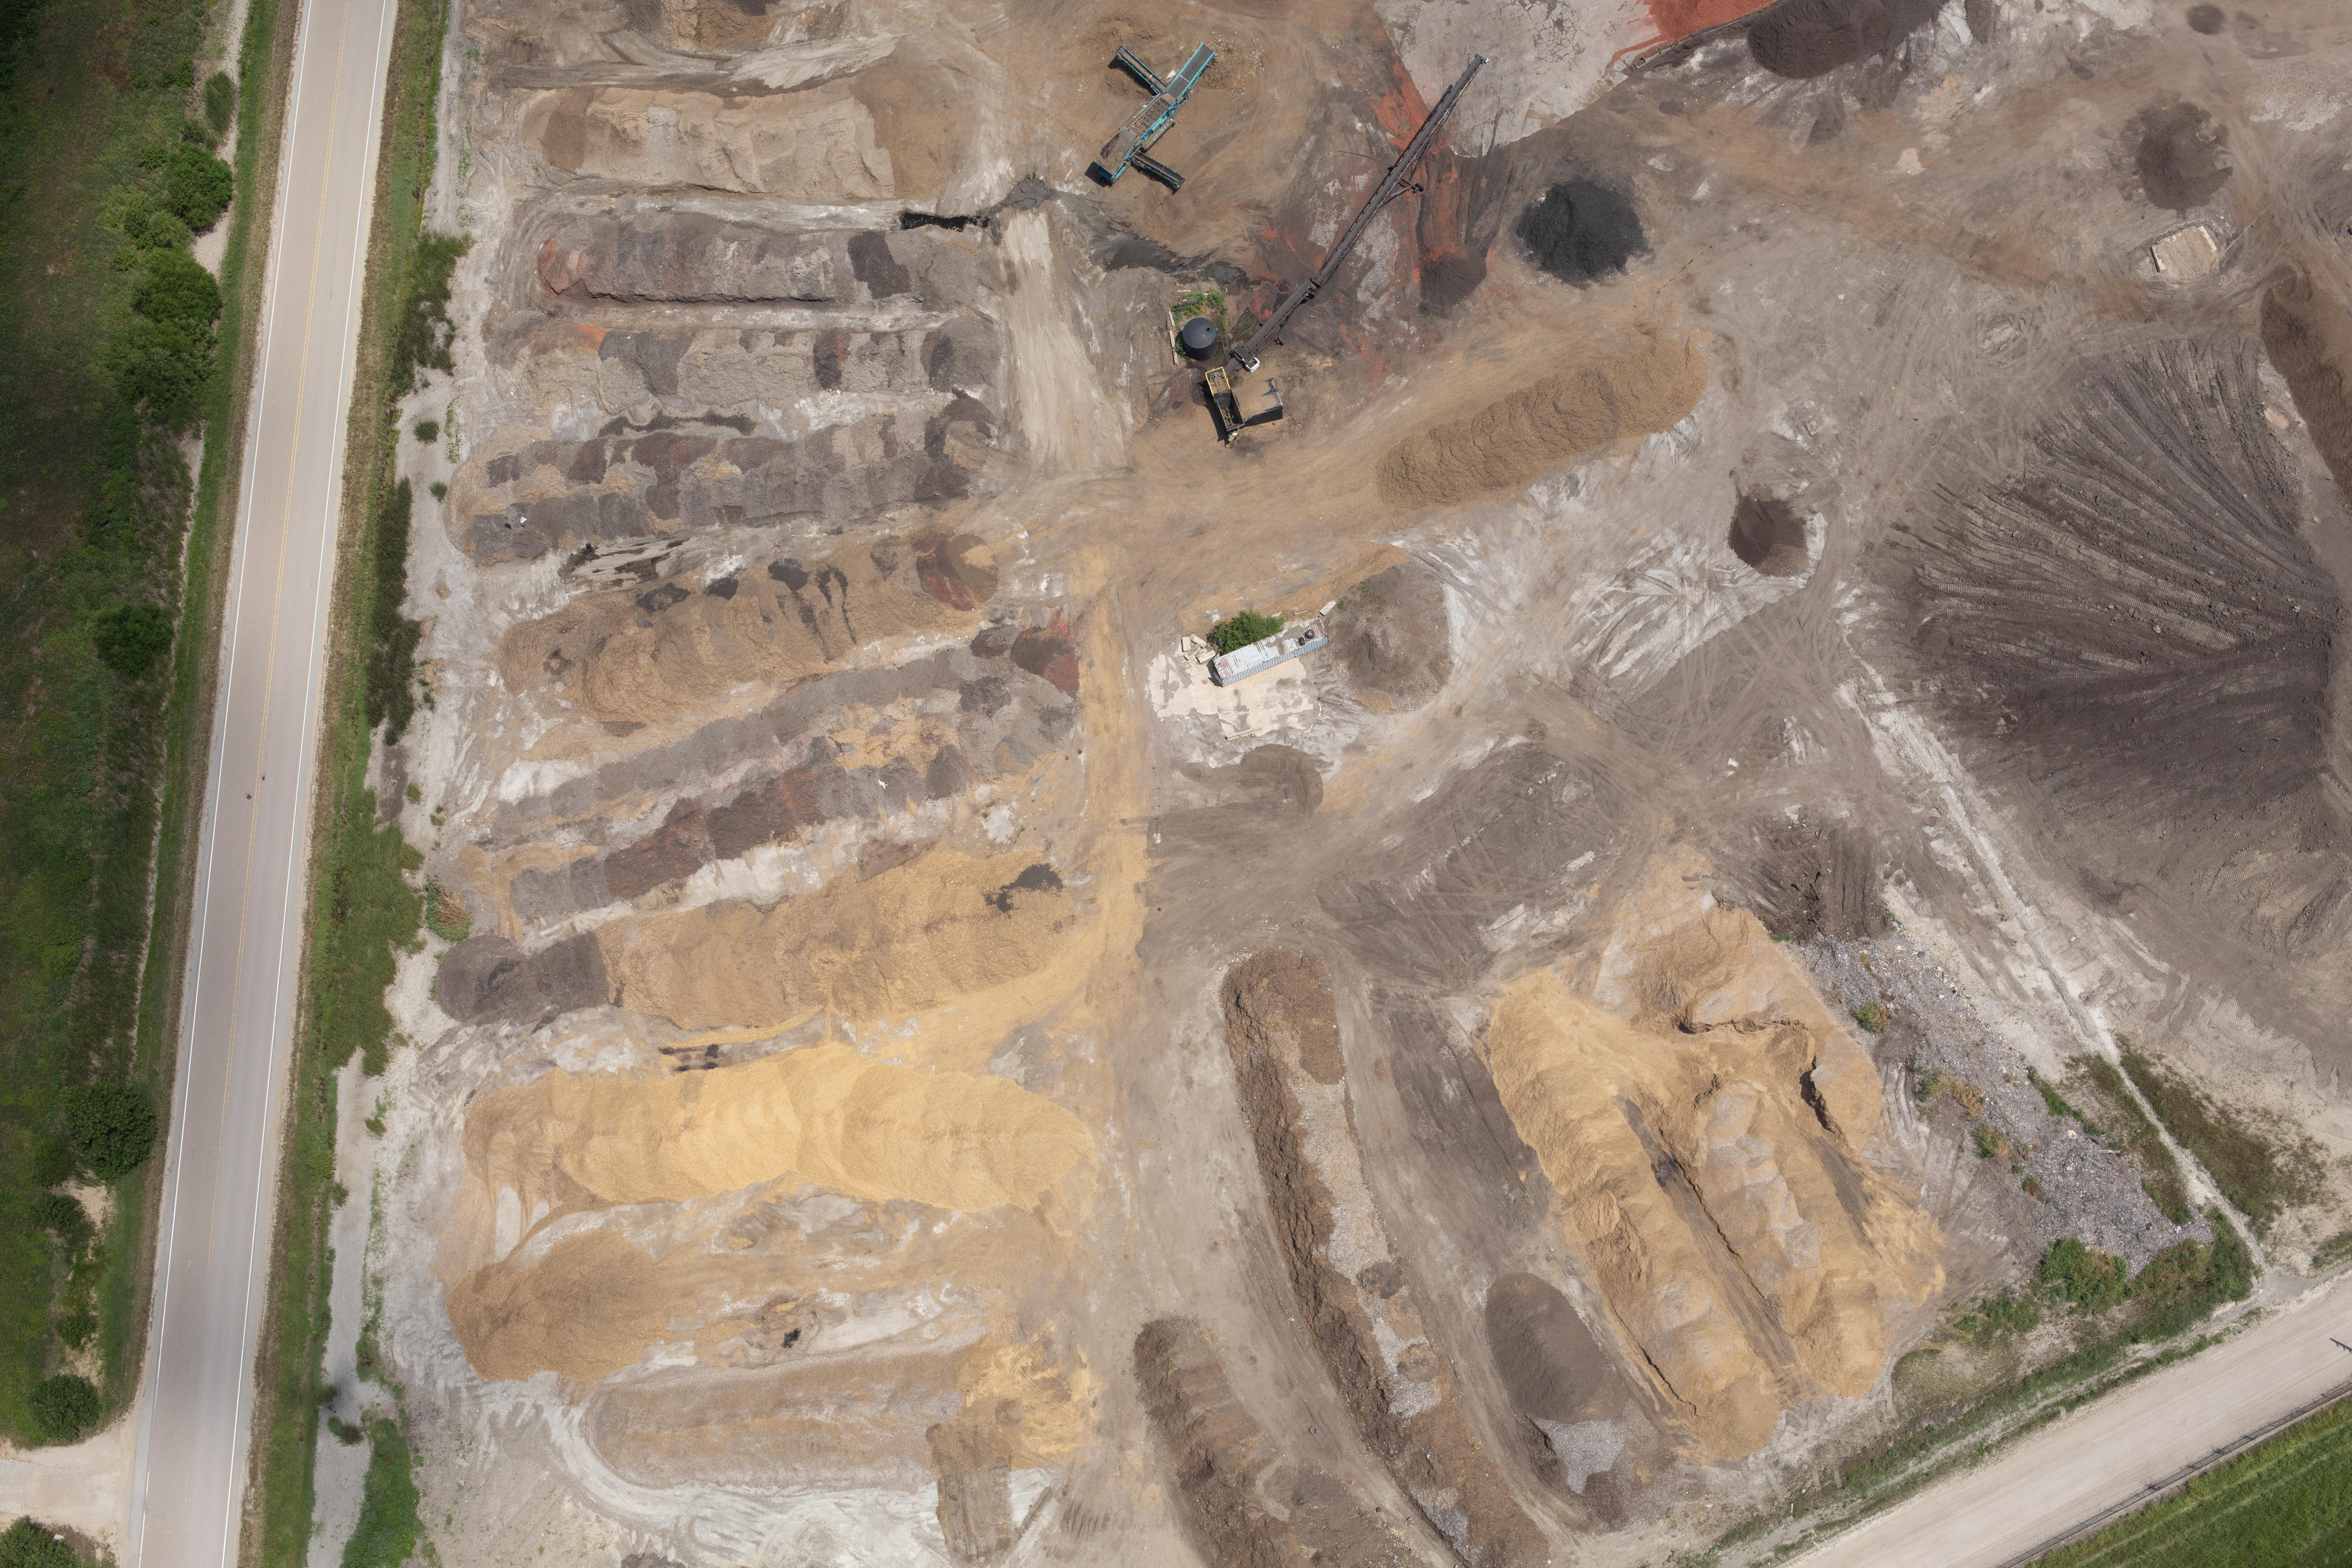
Complete, consistent coverage. A drone flies a programmed grid pattern at a fixed altitude and overlap percentage, capturing the entire roof surface with uniform image quality — no missed sections, no operator fatigue, no walking on a roof that may already be compromised.
Safety. Aging roofs, especially over occupied healthcare or manufacturing space, can present real fall and structural hazards. An aerial platform removes personnel from the roof surface entirely during the diagnostic phase.
Speed and minimal disruption. A large commercial or campus roof that would take a walked survey crew a full day or more can often be captured aerially in a fraction of the time, with no foot traffic on the membrane and no interruption to building operations.
Georeferenced, radiometric data. Every pixel in a properly captured thermal image carries an actual temperature value, and every image is tied to precise GPS coordinates. That means findings aren’t just “this area looks warm” — they’re quantifiable, mappable, and repeatable.


From Flight to Findings: What the Deliverable Actually Looks Like
A thermal drone inspection isn’t just a folder of infrared photos. At St Louis Drone Services, our process is built to produce a document facility leaders can actually use — and, when necessary, defend in front of a roofing contractor, an insurance adjuster, or a school board.
Our typical deliverable includes:
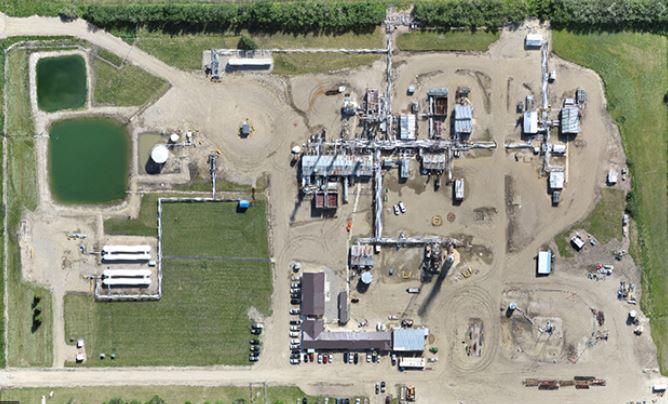
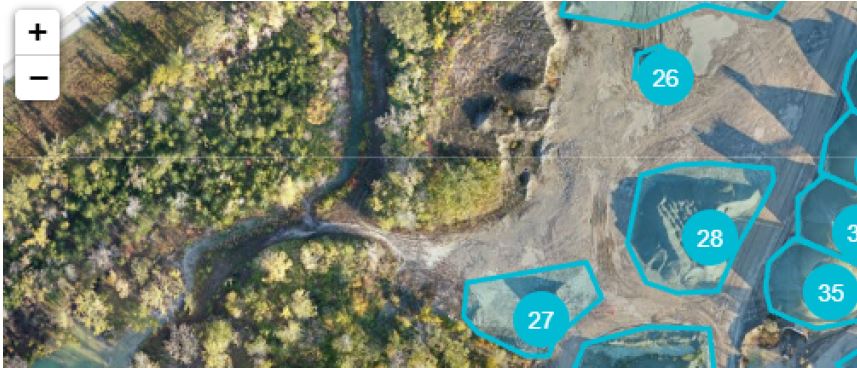
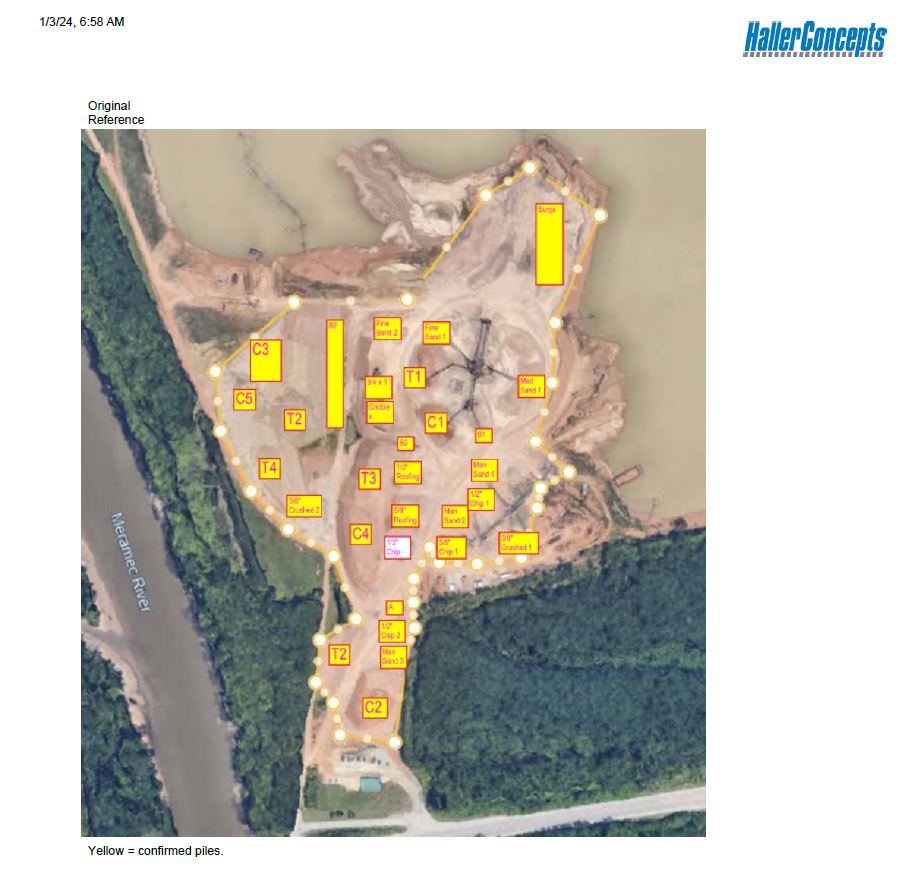
- Orthomosaic thermal map — all individual thermal images stitched into a single, scaled overhead map of the entire roof, so moisture patterns can be viewed in context rather than as isolated frames.
- Overlaid visual (RGB) imagery — a matching high-resolution optical map so anomalies can be cross-referenced against physical roof features like drains, curbs, HVAC units, and seams.
- Radiometric data annotations — actual temperature values and delta readings at flagged anomaly zones, not just color gradients.
- Timestamped, geotagged records — every flight, every image, and every flagged zone is dated and located, creating a baseline that can be compared against future inspections to track whether a problem area is stable, growing, or has been successfully repaired.
- Summary report with prioritized findings — anomalies ranked by severity and estimated square footage affected, giving facility teams a basis for budgeting targeted repairs instead of full roof replacement.
That last point is where the real financial value lives. Roofing contractors often recommend replacement when they can’t isolate the extent of the damage. A precise moisture map lets a facility director instead pursue targeted repair of the actual wet areas, extending the life of an otherwise sound roof system by years and avoiding capital expenditure that wasn’t necessary.


Who This Serves — and Why It Matters for Each Sector
Schools and school districts. Roofs over classrooms and gymnasiums are often large, aging, and difficult to budget for on a reactive basis. A district-wide thermal survey gives facilities departments a prioritized, data-backed capital plan instead of guessing which building needs attention first — and gives them documentation to support bond requests or emergency funding.
Healthcare facilities. Moisture intrusion above patient care areas, surgical suites, or sensitive equipment isn’t just a maintenance issue — it’s an infection control and compliance issue. Defensible, timestamped documentation supports Joint Commission readiness and helps facilities teams act before a leak becomes a life-safety event.
Manufacturers. Water intrusion above production floors threatens equipment, inventory, and uptime. For facilities running continuous operations, an aerial thermal survey can be scheduled around production hours with zero disruption to the line.
Commercial portfolios and property managers. For owners managing multiple properties across St. Louis and the surrounding metro, a standardized thermal inspection program creates a consistent, comparable dataset across the entire portfolio — supporting due diligence in acquisitions, reserve fund planning, and warranty claims with roofing manufacturers.
Beyond the Roof: LIDAR and Cinematography
Thermal roof inspection is one piece of a broader aerial data and creative practice at St Louis Drone Services.
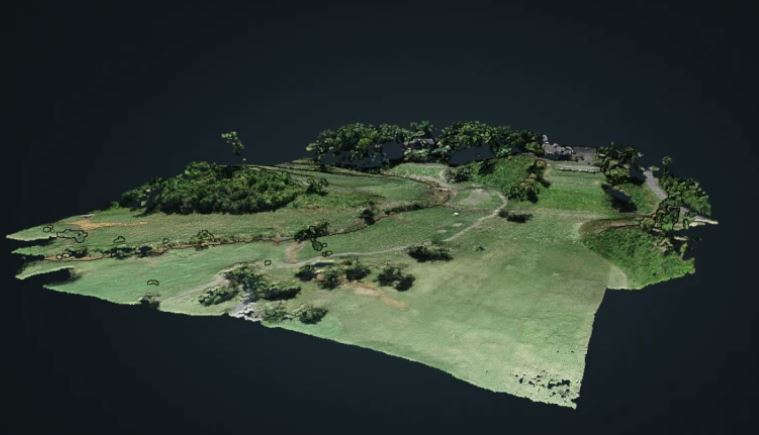
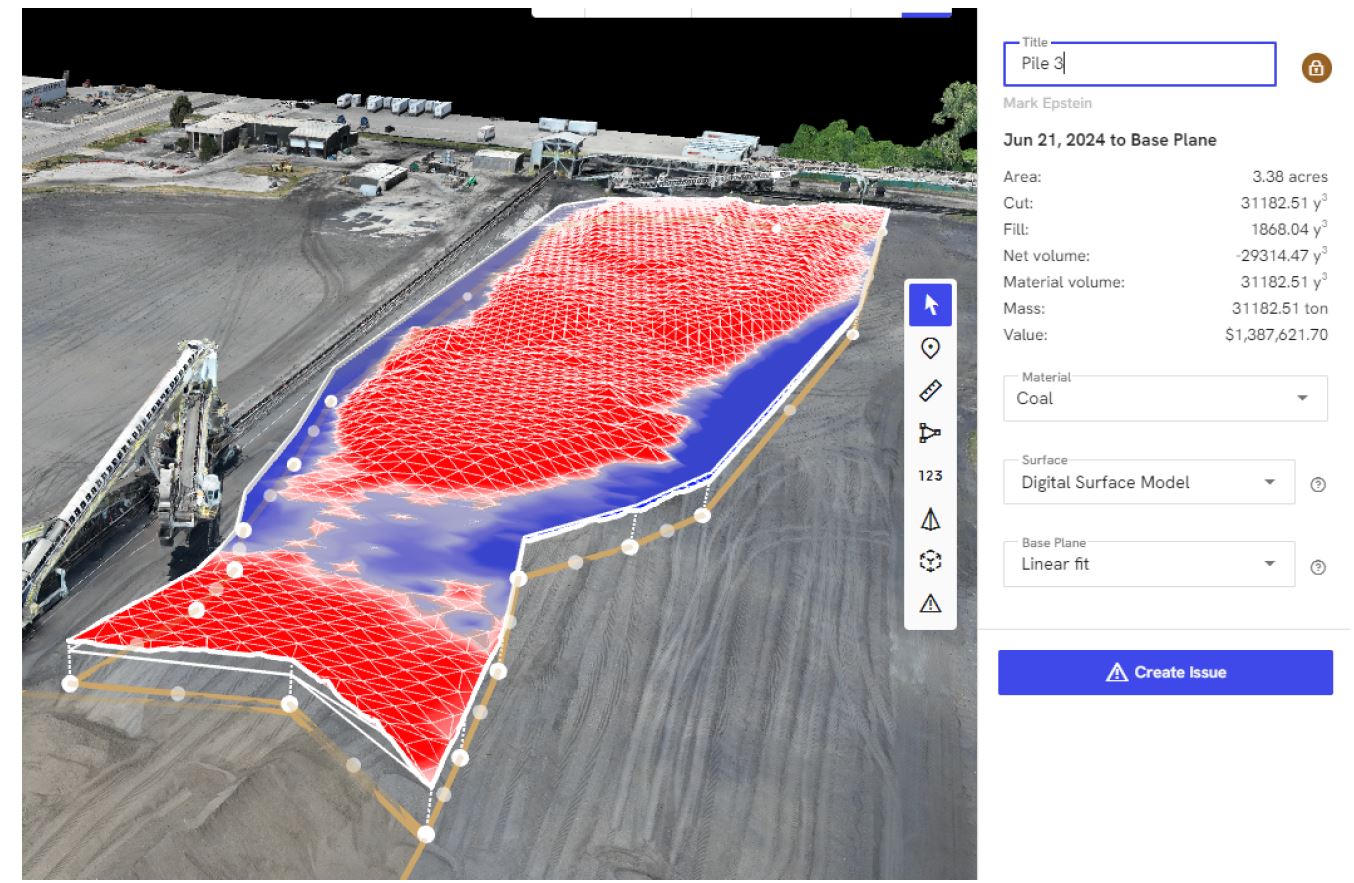
Drone LIDAR extends this same data-driven approach into precise 3D mapping — capturing accurate elevation data, drainage slopes, structural topography, and volumetric measurements for facilities, construction progress, and site planning. Where thermal imaging tells you where moisture is, LIDAR can help confirm why — revealing ponding areas, slope deficiencies, and structural deformation that contribute to water intrusion in the first place.
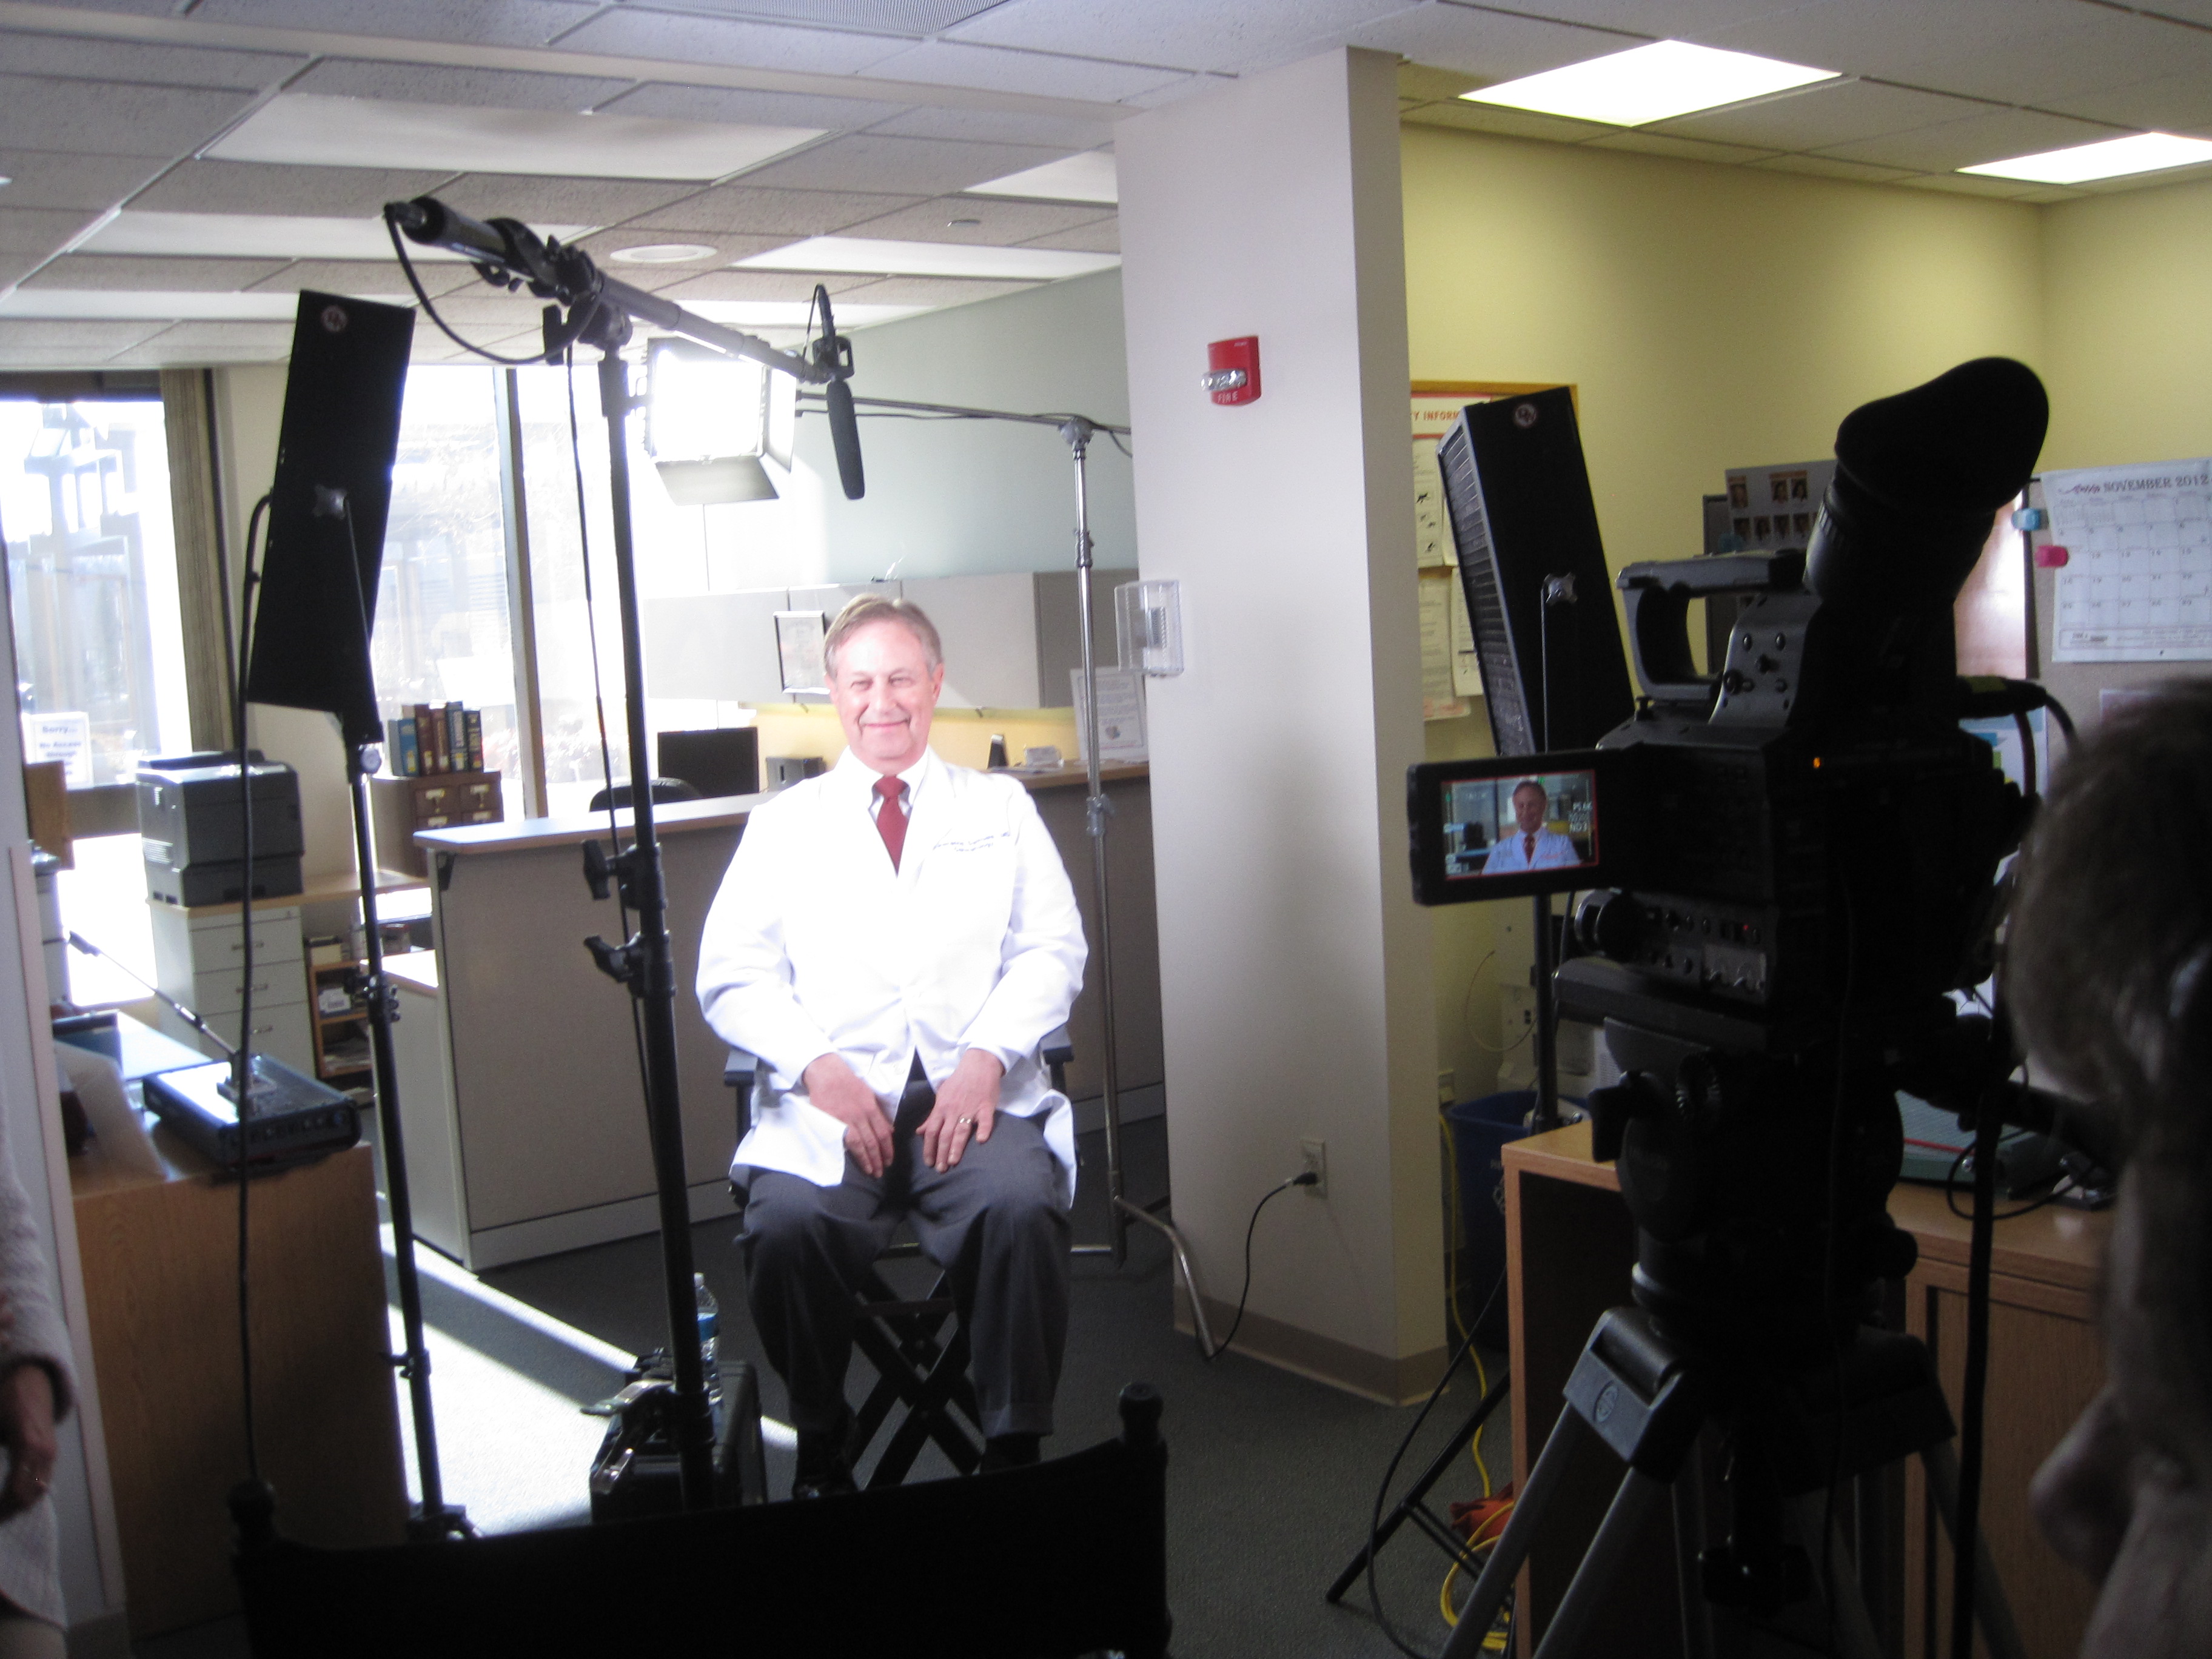
Cinematography services round out our aerial capability for organizations that also need high-production-value video and photography — for marketing, donor and board presentations, campus tours, or documenting major construction and renovation projects. The same FAA-certified pilots and equipment used for technical inspection work are equally capable of producing polished, broadcast-quality aerial footage for St. Louis area organizations.
What to Look for in a Thermal Roof Inspection Provider
Not all thermal drone services are equal, and the differences matter when the data is being used to make five- or six-figure repair decisions. When evaluating a provider, ask about:
- FAA Part 107 certification for all pilots
- Radiometric (not just visual-spectrum) thermal sensors, with stated resolution and accuracy specifications
- Experience interpreting roofing-specific thermal signatures, not just general infrared photography
- A defined flight protocol tied to weather, solar loading, and temperature differential requirements
- Deliverables that include actual data — orthomosaics and radiometric annotations — not just a handful of infrared snapshots
- A repeatable process that supports year-over-year comparison, not a one-time snapshot
- Local availability and familiarity with the region’s weather patterns, so flights can be scheduled quickly around the right conditions